Experience and hubris walk hand in hand. I’m a long-time photographer, and when I come across a nice photo, you can usually catch me mumbling to myself. “Ah yes, excellent. I could’ve done that with ease.”
Most of my photography isn’t utilitarian, but I also illustrate my own writings; for a recent example, see last month’s post about the Spaceview watch. So here’s how it went the first time I tried to capture a photo something really tiny: I looked at examples of macro pictures online, I muttered to myself dismissively — and then promptly hit a wall.
The first challenge seemed straightforward: I needed optics that would let me zoom in real close. One approach is to put a camera on top of a stereo microscope. Another is to get true macro optics for a prosumer camera that takes interchangeable lens. Either way, nothing that money can’t solve. It might be expensive, but it’s not that hard?
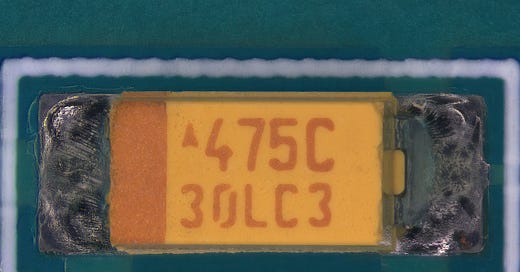
Well, sort of. You set up the camera, get good diffuse lighting, press the shutter… and you’re staring at something like this:
Let’s start with the badly overexposed highlights. As it turns out, at micro scale, everything is far more shiny than one would expect. Cellulose fibers in a piece of paper glisten like waves on a sunny day. Specks of dust look like glitter. Rusty metal lights up like a Christmas tree.
When dealing with overexposed details, most pros turn to a computational photography technique known as HDR. The idea is combine several photos taken at different exposure levels, or pull raw 14-bit data from the camera sensor, and then apply a tone mapping function that makes mid-tones look somewhat natural while compressing luminance near the extremes to squeeze it all into the 8-bit range that can be displayed on the screen.
The trick works, but the results aren’t good. The highlights might not be as nasty as before, but they still are distracting as heck.
Luckily, there is another way, and it involves a bit of tomfoolery with polarized light. The illumination reaching the scene goes through one polarizing filter, and another filter — about 90° out of phase — is placed in front of the lens. This largely eliminates specular highlights while allowing more diffuse light to pass through.
The result is a striking improvement, although more hurdles remain.
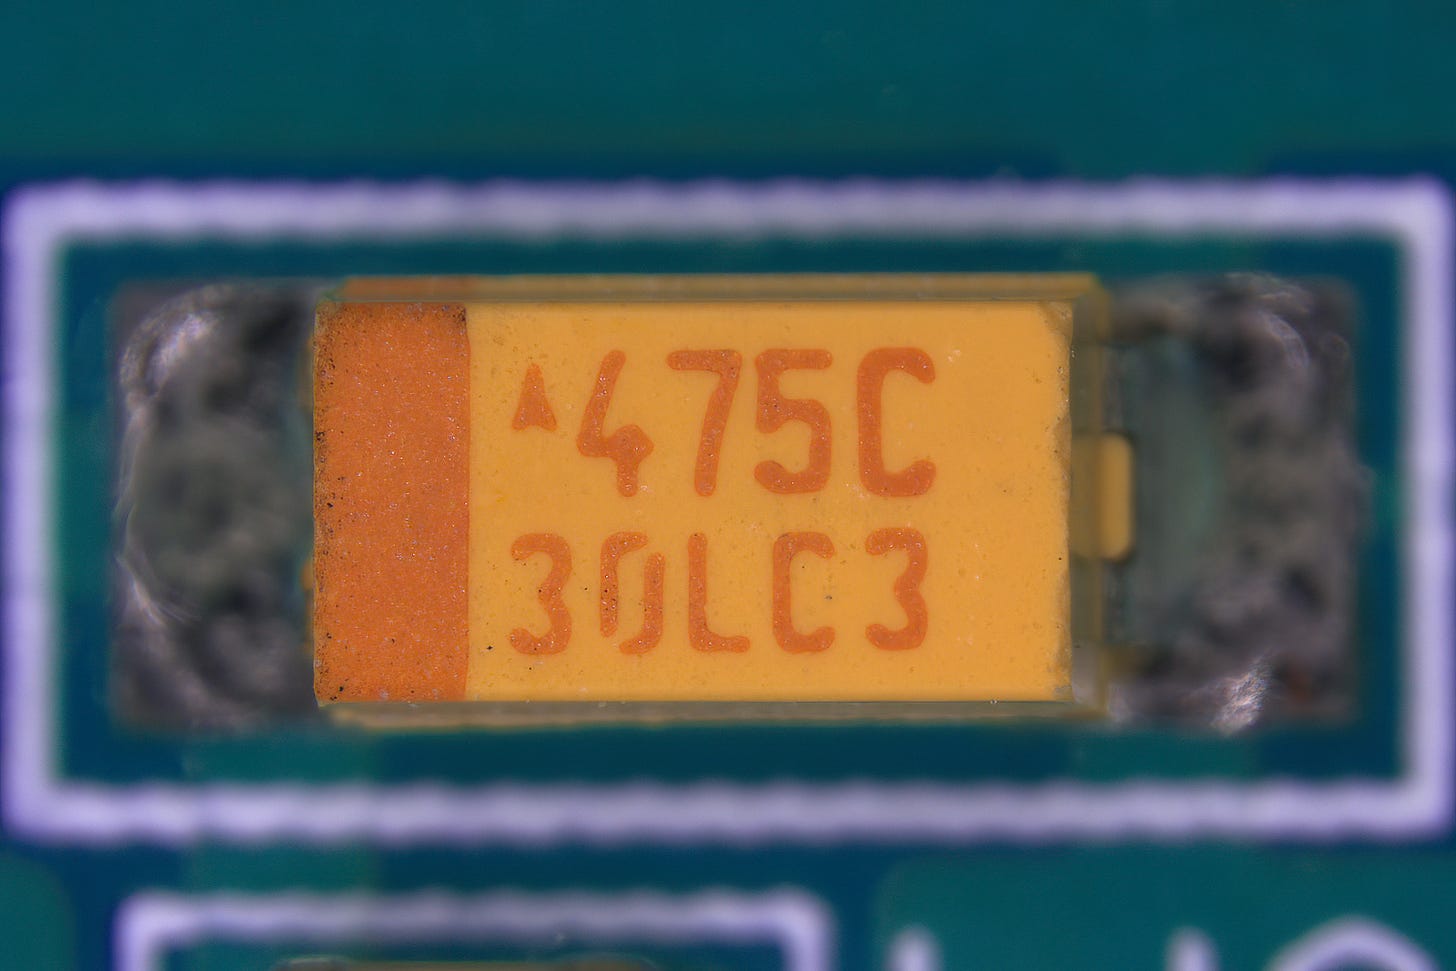
The next major issue is depth of field. At high magnification levels, the in-focus region can be as shallow as 1/50th of an inch. The answer, once again, is computational photography: as many as 20-30 photos are taken while gradually moving the focusing ring. A specialized “focus stacking” program is then used to construct a synthetic image by selecting the in-focus regions from each shot, followed by aligning and merging the results.
Focus stacking is not bulletproof. The algorithms have trade-offs that sometimes cause problems such as halos or random blurry blobs. That said, in this case, the resulting composite image requires no manual repairs.
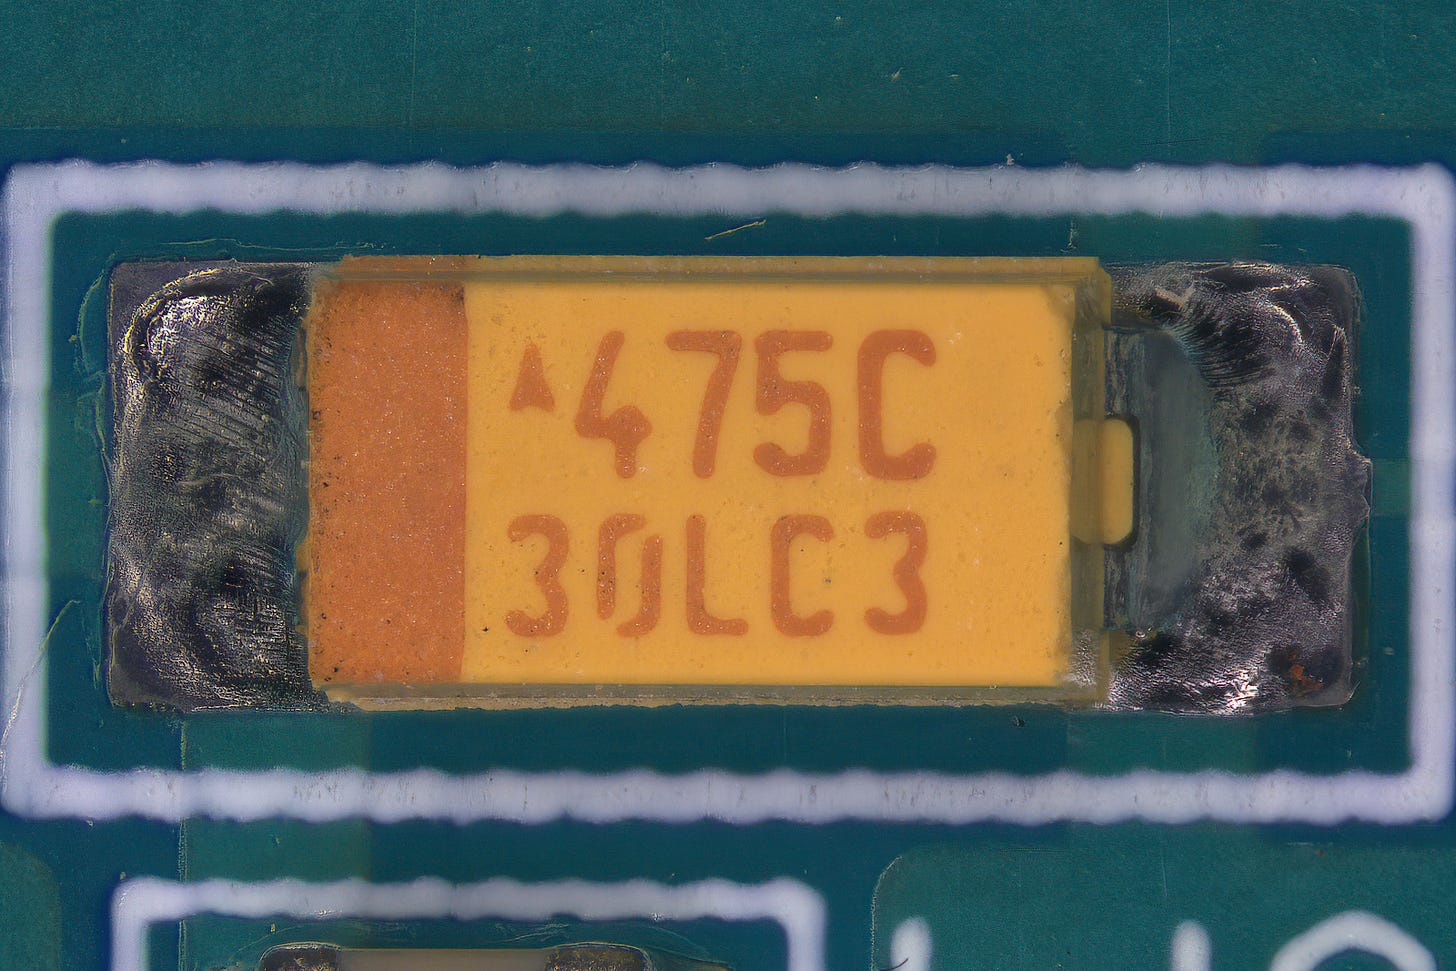
The final challenge is dust: the surface-mount capacitor in the photograph is only about 3.5mm long, and despite meticulous cleaning, there’s always some flaked-off epidermis or loose fibers that get in the shot. It is more visible if you zoom in. Thankfully, the issue can be repaired in under 30 minutes with the clone tool.
I think the moral here is that there’s fractal-like complexity to human activities. Most crafts seem simple until we give them a try — and even as we get comfortable with a particular trade, there is always some subgenre that comes with unexpected challenges and sends us down a brand new rabbit hole.
👉 If you enjoy photography and electronics, you should check out Open Circuits from No Starch Press. I don’t earn commissions here; the book is just a true labor of love.


