Setting up an electronics workshop
A minimalist, non-commercial take on a handful of indispensable workshop tools.
Over the years, I learned to stay clear of most gear advice on the internet. Between paid-for reviews, gatekeeping, and outright snobbery, there’s little one can learn by asking a random photographer or a woodworker for a list of their favorite toys.
At the same time, we learn by doing — and the learning curve gets steeper if we’re wielding the wrong tools. In electronics, the deal is simple: although mail-order prototyping is making strides, a lot still hinges on knowing how to make a decent solder joint.
I’ve been dabbling in electronics for about 25 years; along the way, I worked for a number of companies with on-premises hardware labs. I had a chance to experiment all kinds of expensive gear, and found most of it to be of little use in hobby work. That said, there are several pieces of equipment I wish I had known about from the start.
The right soldering iron
For the first ten years of my electronics journey, I wrestled with traditional soldering irons. I tried models big and small; I had some that retailed for $10, and some that fetched $100. Over time, my skills progressed from terrible to tolerable, but I was always fighting the tool. I could solder through-hole components to premade circuit boards with ease, but the prospect of more complex work always filled me with dread.
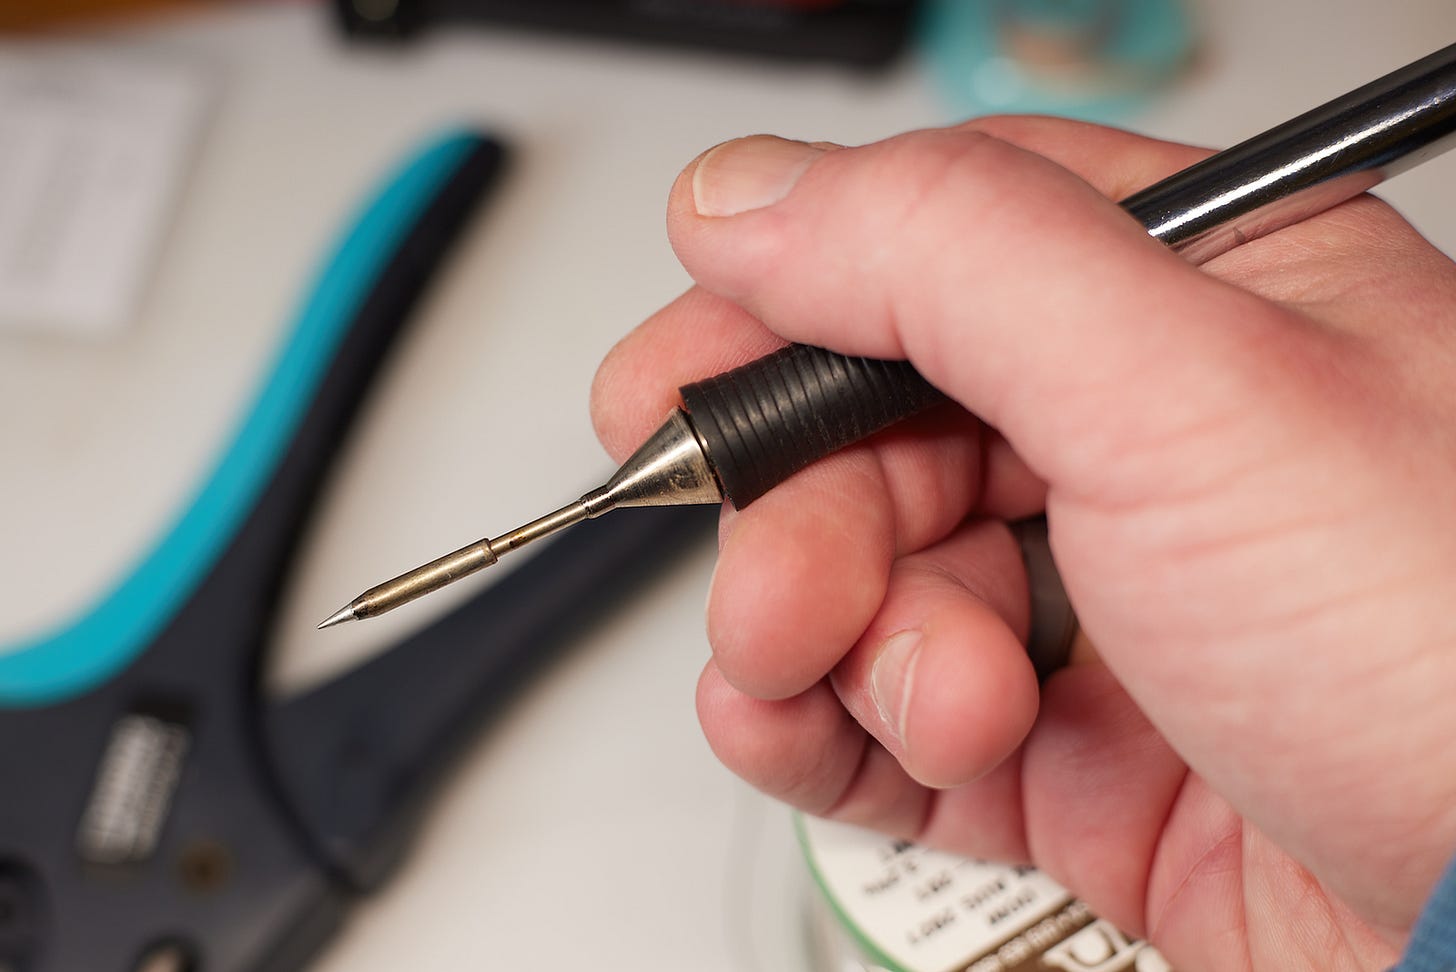
It wasn’t until 2007 that I splurged on a Weller soldering station with a miniature, pencil-style handpiece. This was a big and risky purchase, but it turned out to be one of my best. If you know how to hold a pen, you can operate such a soldering iron without learning any new motor skills. Your hand is resting comfortably on the work surface an the tip is less than two inches away. You can reach into tight spots and solder surface-mount devices without breaking a sweat — and without risking major burns:
The original model I still have is now out of production, but there are alternatives. The cheapest brand-name option is probably a Weller WT1010M kit that includes a 1.3 mm chisel tip for a total of about $470. Another choice in the same ballpark is Hakko FX-971 base with an FX-9703 handpiece and a T50-D1 tip (1.0 mm). Some hobbyists also speak highly of inexpensive, USB-powered “Pinecil” soldering irons from China; they look nice, but I can’t offer a first-hand review.
There is a considerable debate about tip shapes; a tip that’s too small will hinder heat transfer, while one that’s too big is bound to get in the way of precision work. In my experience, small chisel tips — around 1 mm — are great for all-around soldering. Meanwhile, conical tips with a moderate end radius offer extra precision some of the most demanding surface-mount parts.
Solder wire and flux
There’s no such thing as too much soldering flux. Hot metal oxidizes in a matter of seconds, and without the protective action of flux, you run into a myriad of problems: poor wetting, shoddy joints, and sticky solder that forms bridges across PCB traces and component pins.
Most types of soldering wire come with a flux core; the amount is enough for an experienced operator who moves quickly from pad to pad, but for a novice, it probably won’t do. Flux also evaporates quickly, so more needs to be applied whenever reworking joints, adding jumper wires, or desoldering components.
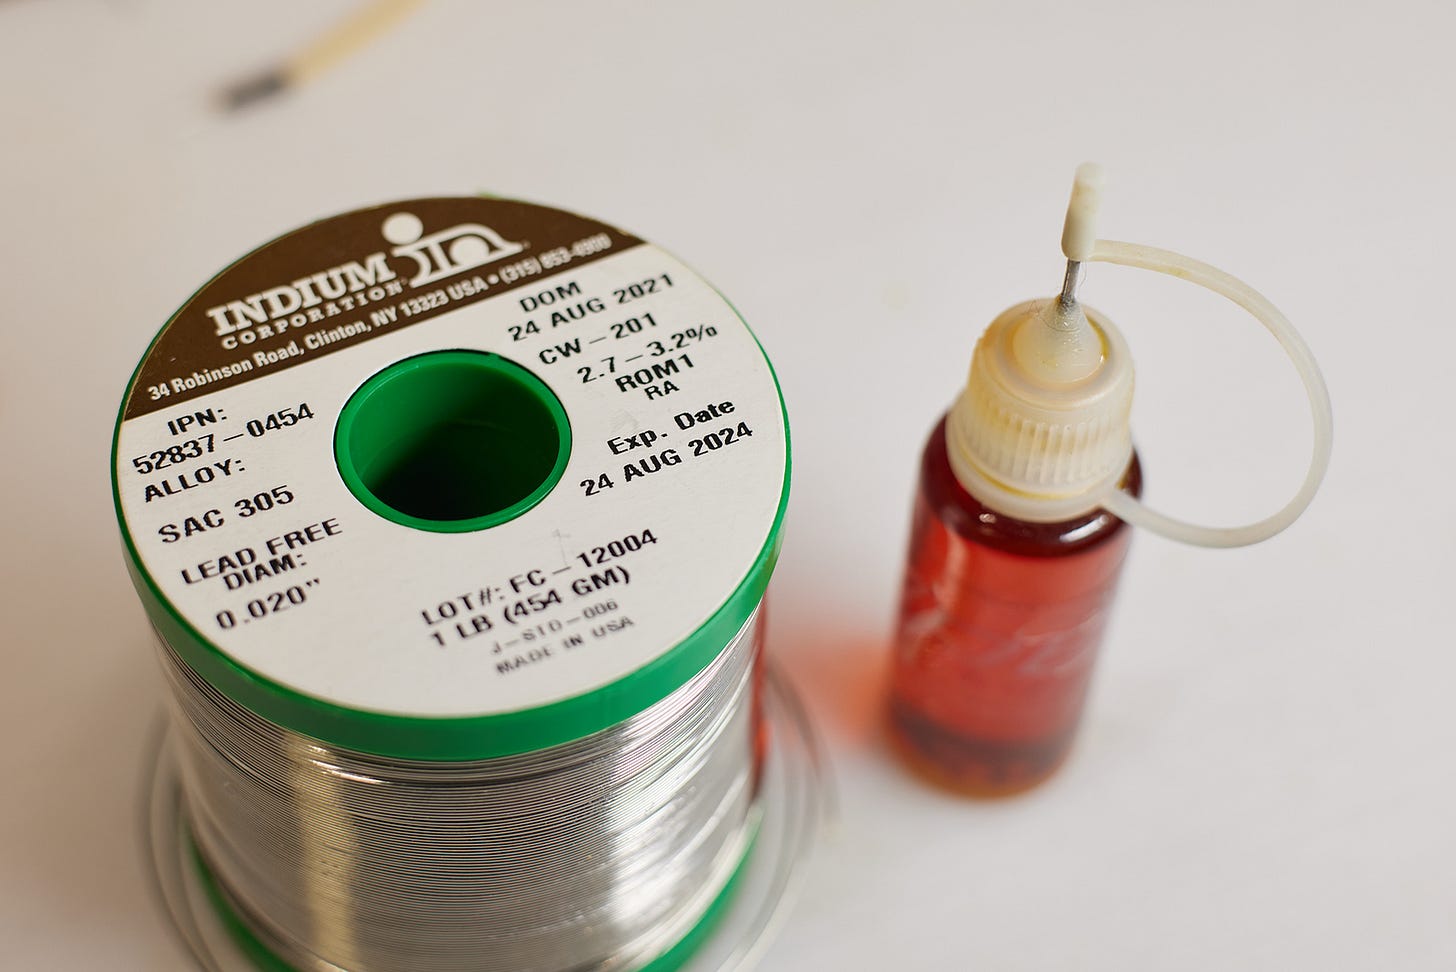
Despite their popularity, paste-consistency fluxes can be cumbersome to use. After fiddling with a variety of application techniques, I eventually switched to liquid formulation — MG Chemicals 835. I dispense it from a small needle-tipped dropper bottle pictured below.
For hand soldering, traditional mildly-activated rosin fluxes (“RMA” or “ROM”) tend to work best. “No-clean” and “water-soluble” formulations have lower reactivity or more noxious fumes.
When it comes to solder wire, it is commonly available in 0.032” (0.8 mm) or 0.040” (1 mm) diameters, but I found 0.020” (0.5 mm) to be a much better choice for precision work. Finally, despite some negative opinions, lead-free solders are worth a try. Some products are poorly-suited for hand soldering, but I’ve been using rosin-cored Indium Corporation WIREFC-52837-0454 for years, and it’s a fantastic pick. Other seemingly reasonable choices include AIM Solder 14054, Chip-Quik RASWLF.020, and Weller T0051386499.
Breadboards and perfboards
Nowadays, most small electronics are assembled using surface-mount technologies. This process is accessible to hobbyists, but it gets in the way of freestyle experimentation: to get anything done, you need to design a PCB and wait 1-2 weeks to have it made and delivered to your door.
For this reason, I like to prototype with through-hole components whenever possible. Most electronic devices, from resistors to microcontrollers, are still being manufactured in through-hole packaging, although this variety might cost a couple cents more. There are some exceptions to this rule — most notably, for high-pin-count devices and latest op-amps — but this can be usually dealt with using inexpensive breakout / adapter boards:
When working with through-hole components, solderless breadboards — as seen in the background of the preceding photo — are unbeatable for experimentation. Their only disadvantage is that they’re less suited for assembling high-frequency (20+ MHz) or high-current (2+ A) circuits. To be clear, you can put a microcontroller running at 500 MHz on a breadboard; the frequency constraint applies only to signals leaving that chip’s die.
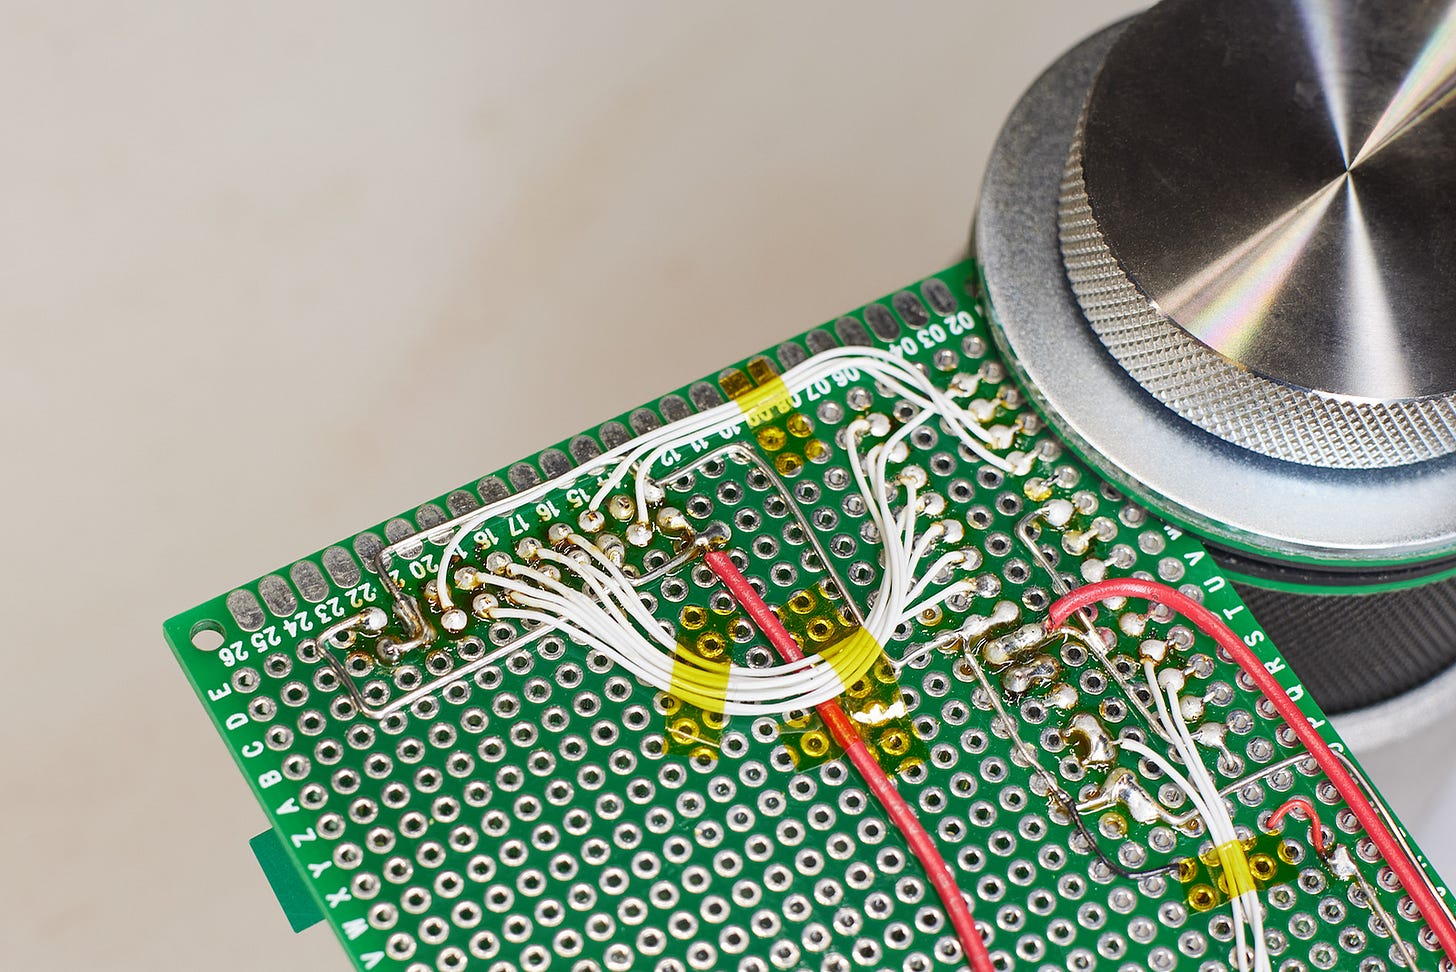
For simple one-off “production” circuits, my go-to solution are perfboards, cheaply available on the internet in all shapes and sizes. With components inserted through the holes, I construct positive and negative supply rails with solid 24 AWG wire, and then use 30 AWG “wire wrapping wire” for signal connections. I rely on strips of polyimide tape to keep the wiring neat:
Of course, for higher-volume assemblies, mail-order PCBs are the most reasonable choice. Given the vendors’ low pricing and sensible turnaround times, there’s no longer much of a reason to make vastly inferior PCBs by etching or milling blanks at home. I have a separate article on PCB design here.
Workholding and wire handling tools
Soldering requires one hand to hold the PCB, another to feed the solder wire, a third hand for the soldering iron, and a fourth one for the component you’re trying to attach.
It follows that workholding is of essence. The default choice are all kinds of alligator-clip-based “helping hand” contraptions, but they are finicky and don’t provide a natural resting point for your hand. I eventually replaced mine with a sturdy PCB clamp pictured in one of the earlier photos: Hakko C1390C.
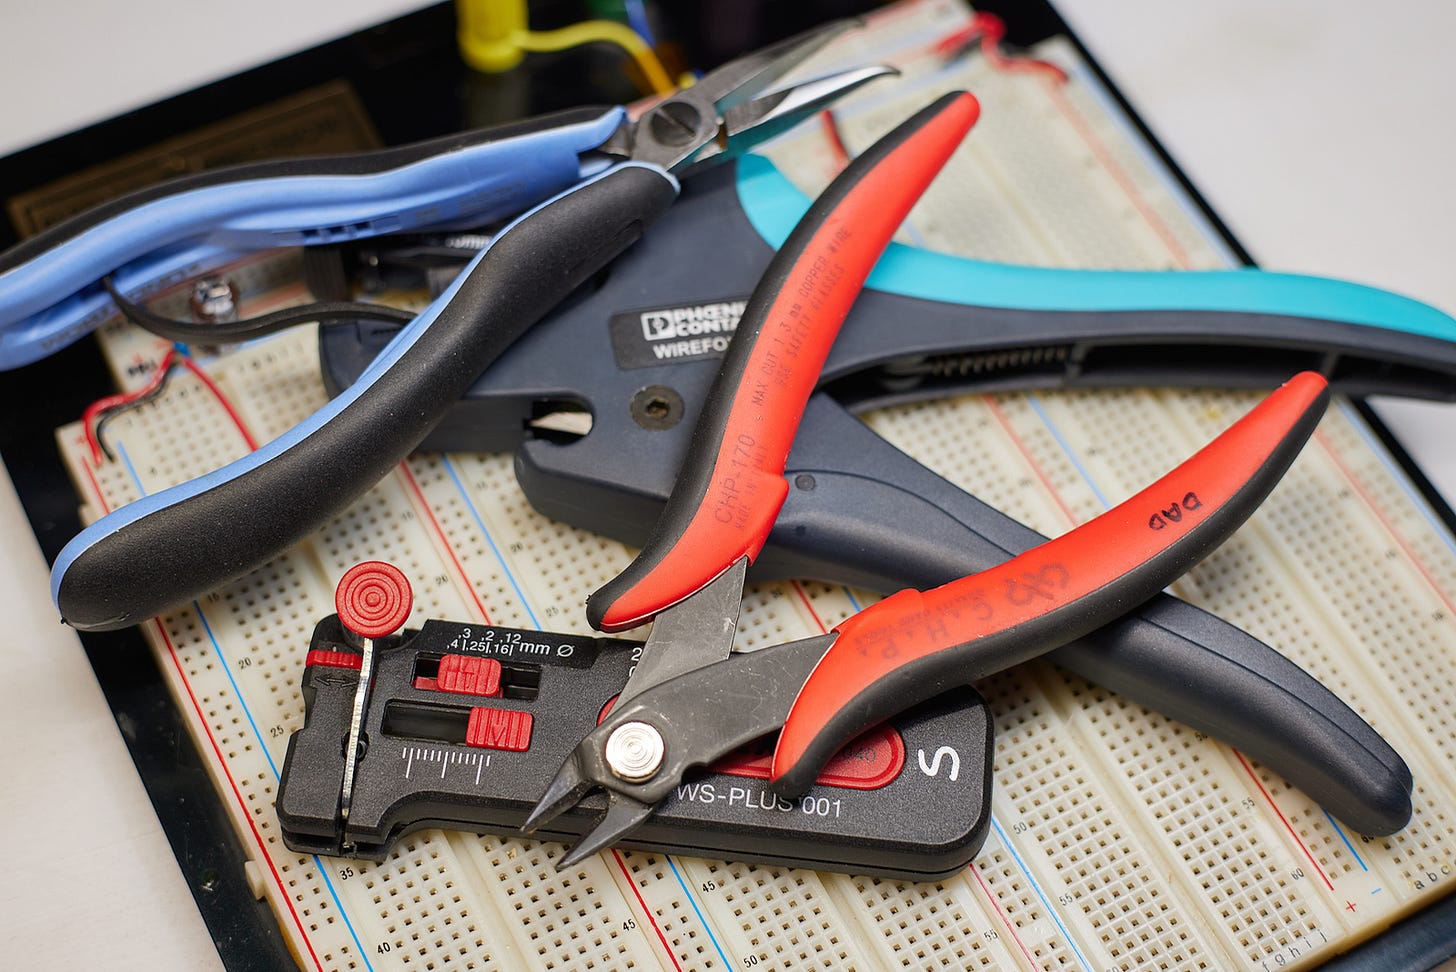
For wire handling, an automatic wire stripper is a major time-saver — and the best model I’ve ever tried is Phoenix Wirefox 10 (below, bottom of the pile); for ultra-thin wire, I also have a manual stripper, Knipex 12 80 040 SB. Finally, small flush cutters, such as Hakko CHP-170 or Weller 170MN, are useful for neatly trimming component leads.
The other hand tool I can’t do without are bent-nose, flat-jaw pliers for bending wire and holding it in place. The model pictured below is Lindstrom RX7892, but cheaper variants should do just as well.
For surface-mount components, ceramic-tipped tweezers (e.g., Techni-Pro 758TW265) come handy. Finally, for finer-pitch integrated circuits, some form of magnification might be valuable. A desktop-style magnifying glass should be enough, although some folks opt for a low-magnification stereo microscope.
Circuit diagnostics
Soldering station aside, the only other major and largely unavoidable expense of setting up an electronics lab is an oscilloscope. The device monitors and records rapidly-changing signals in your circuit; without it, you’re flying blind, and even the simplest problems can be a nightmare to diagnose.
Luckily, oscilloscopes are much more affordable now than they used to be back in my day. One of the most reputable low-cost brands is Rigol; their two-channel 200 MHz model, DS1202Z-E, retails for around $350; other seemingly reasonable choices in this price range include Siglent SDS1202X-E and UNI-T UPO1202CS. Folks on a tight budget and some desk space to spare can also pick up a vintage CRT scope on eBay — perfectly functional, but no longer in any serious demand.
Beyond an oscilloscope, there are three other gadgets that I’d take with me to a deserted island — but that aren’t necessary for a novice to hit the ground running. The list is:
An adjustable (“lab”) power supply. This accessory offers a convenient way to power a variety of circuits without searching for batteries or for a suitable wall wart; precise control over current also reduces the likelihood of component damage if you make mistakes. I had my adventures with malfunctioning no-name PSUs, so I learned to stick to established brands. Siglent SPD1305X, UNI-T UDP1306C, and Rigol DP711 all seem like sensible picks.
A digital multimeter. This device is useful for precise voltage and current measurements, as well as for circuit continuity testing and for sorting through nondescript components. I used to recommend Amprobe AM-510; this is now discontinued, but looks like UNI-T is selling the same design as UT139C; the price tag is $60. Benchtop models offer higher precision and wider measurement ranges, but tend to cost several times more.
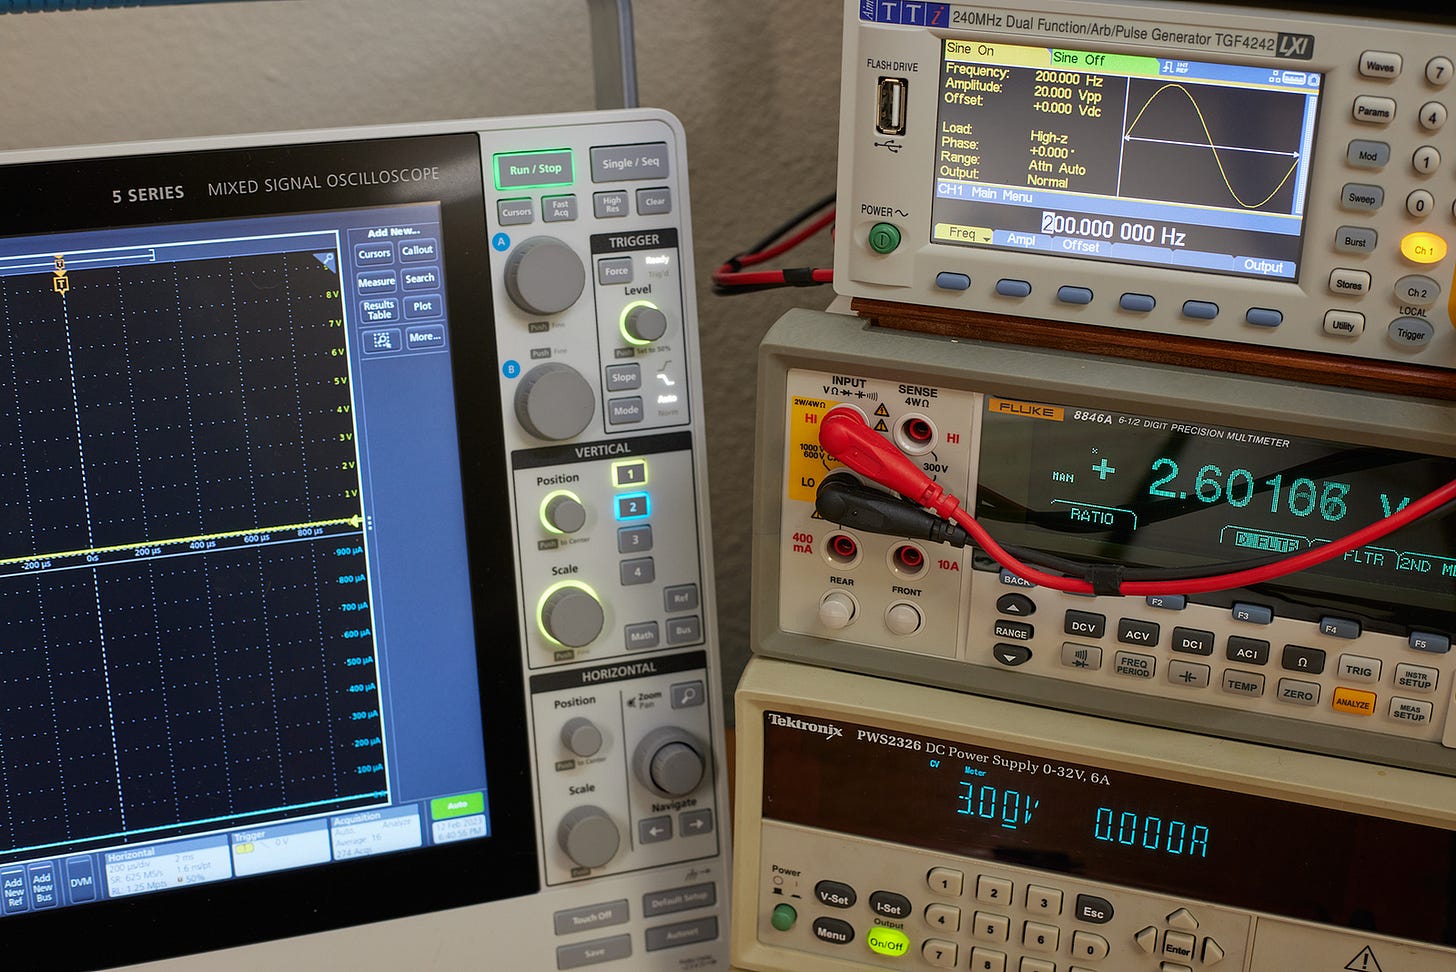
A signal generator. This device saves you the effort of building oscillators — a surprisingly common task! It can generate audio or RF waveforms, and supply clock signals for digital circuitry. Rigol, BK Precision, Siglent, and TTi all have good products; Siglent SDG1022X Plus seems like a good pick.
👉 For more electronics-related content on this blog, click here. In particular, you might find the following posts interesting:
I write well-researched, original articles about geek culture, electronic circuit design, algorithms, and more. If you like the content, please subscribe.


My main issue with perfboard is the lack of ground plane. For analog and higher frequency stuff, I vastly prefer manhattan/dead bug style. Jim Williams is the master of this. Otherwise for connecting modules from aliexpress or what have you to make some gadget, yeah perfboard is great.
I wrote a short post about different types of circuit boards here https://www.quaxio.com/circuit_boards/. While breadboard+perfboards are the most common boards for experimenting or hobby builds, knowing the names of the other boards can come in handy.