
Panel meter calculator with floating point
Yes, there's a video at the end of the article.
Unusual clocks are a common idea for electronics DIY projects. The difficulty is never the timekeeping part; it’s making the clock look presentable. For my own take on the theme, you can check out the article I posted in May:

Some readers might recall that I’m a bit of a calculator nerd. For a while, calculators lagged behind general-purpose computing because of the lack of a suitable display technology. Some of the early designs used ticker tape, cathode ray tubes, or incandescent lightbulb panels to display the result:
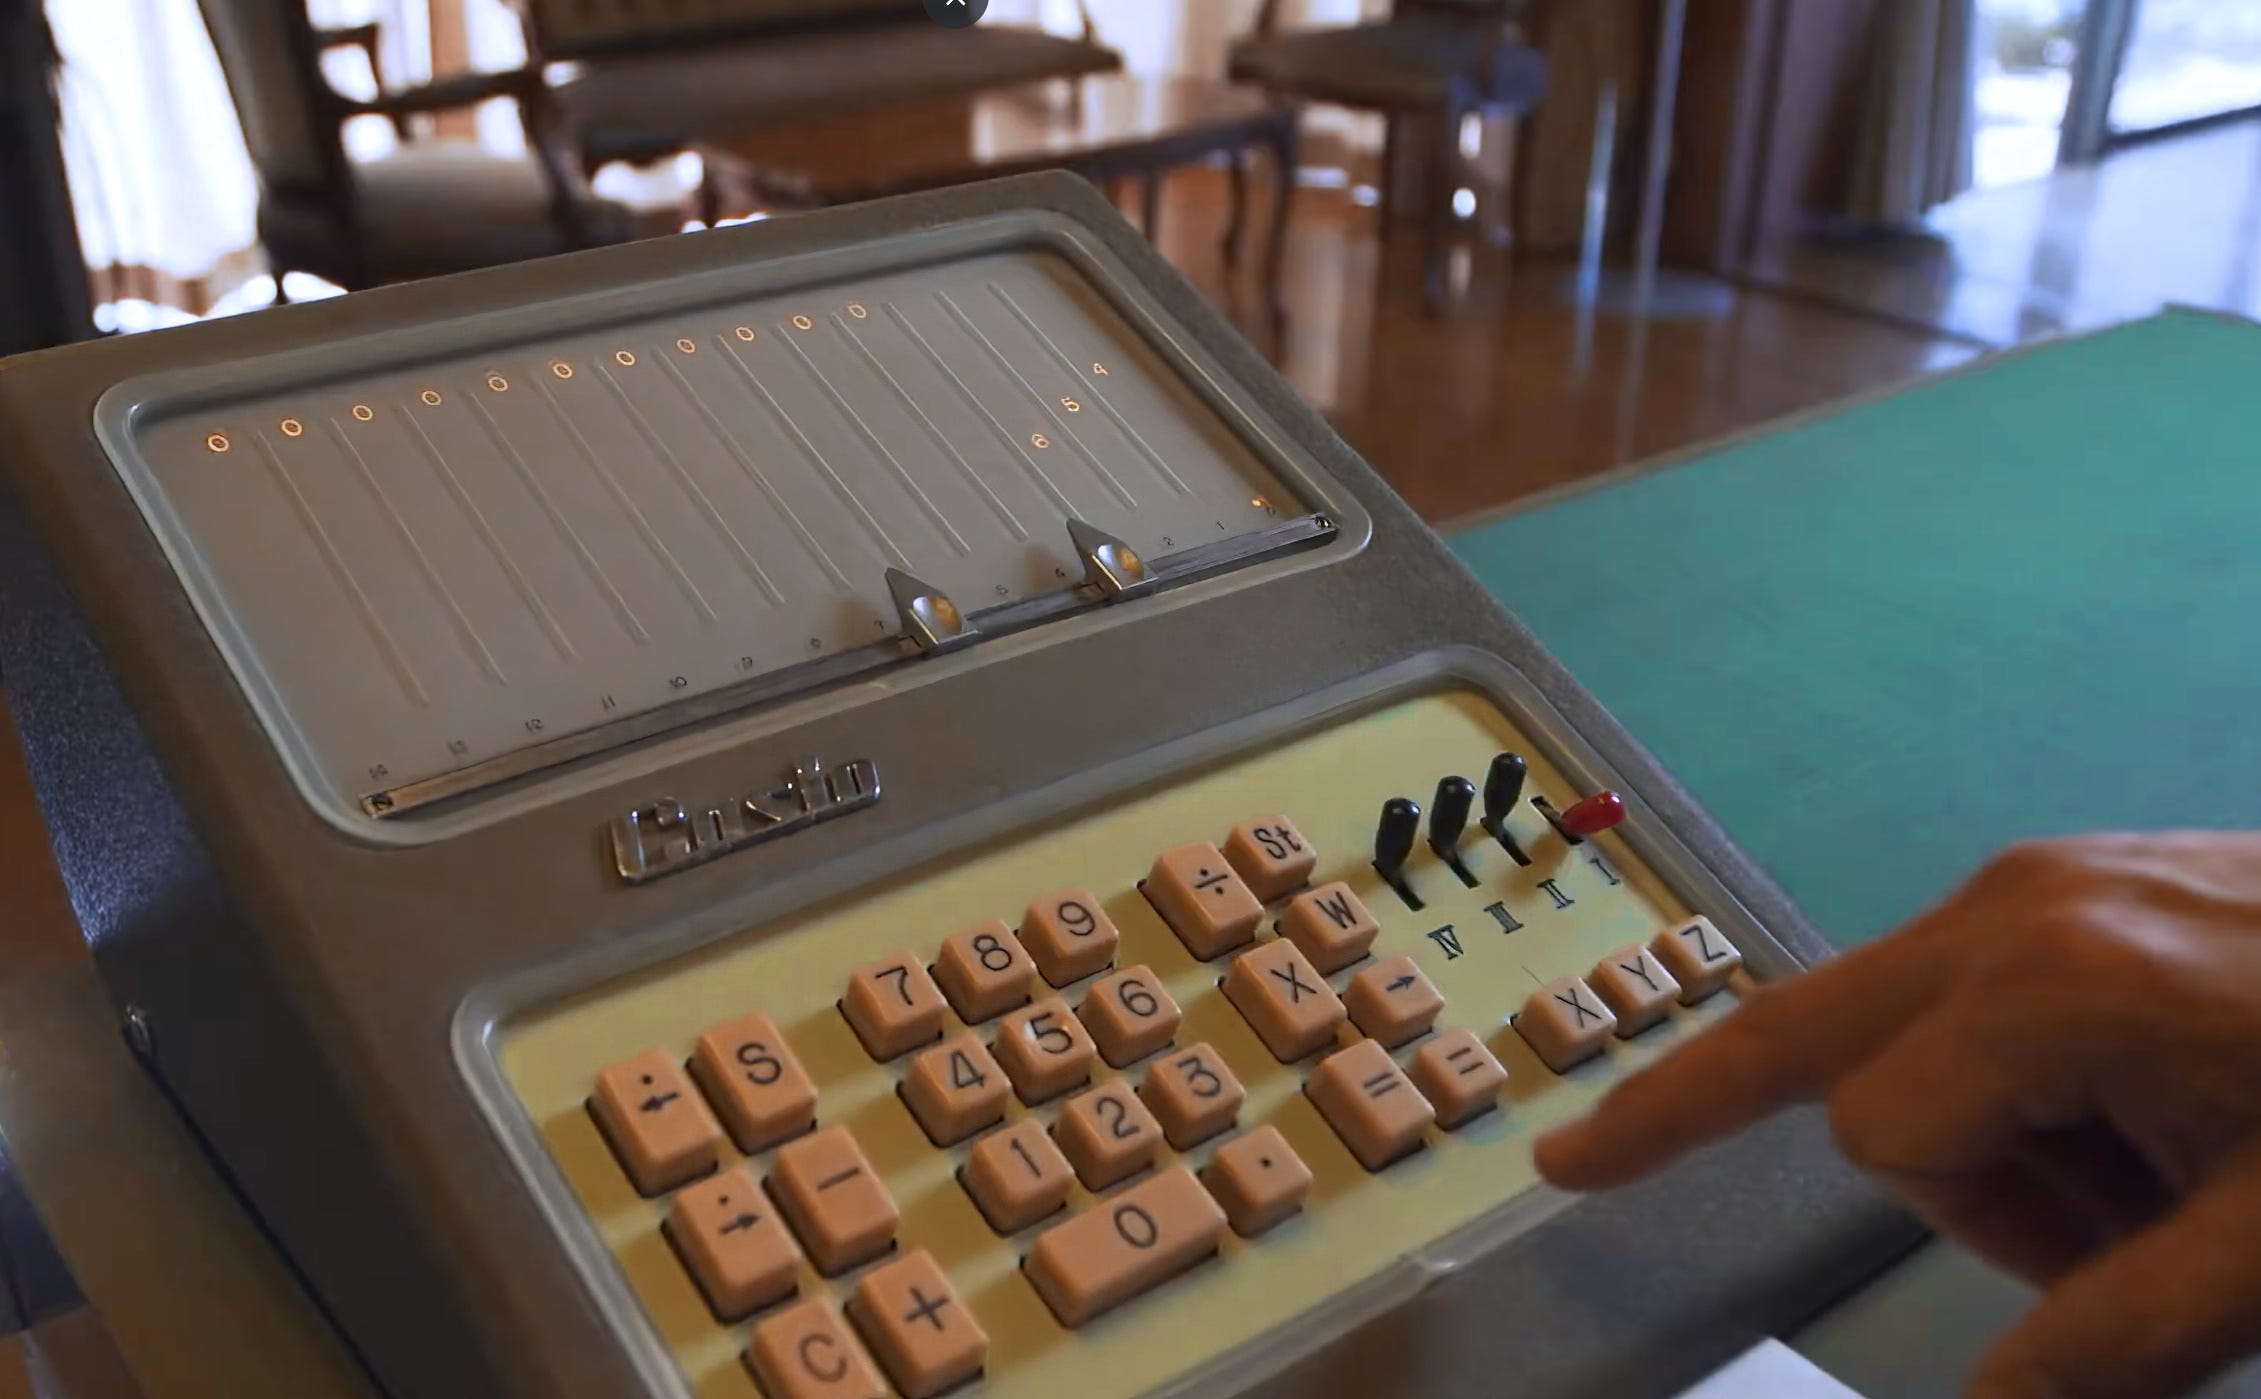
A bit surprisingly, though, there were scarcely any calculators with electromechanical displays, so I decided to address this glitch.
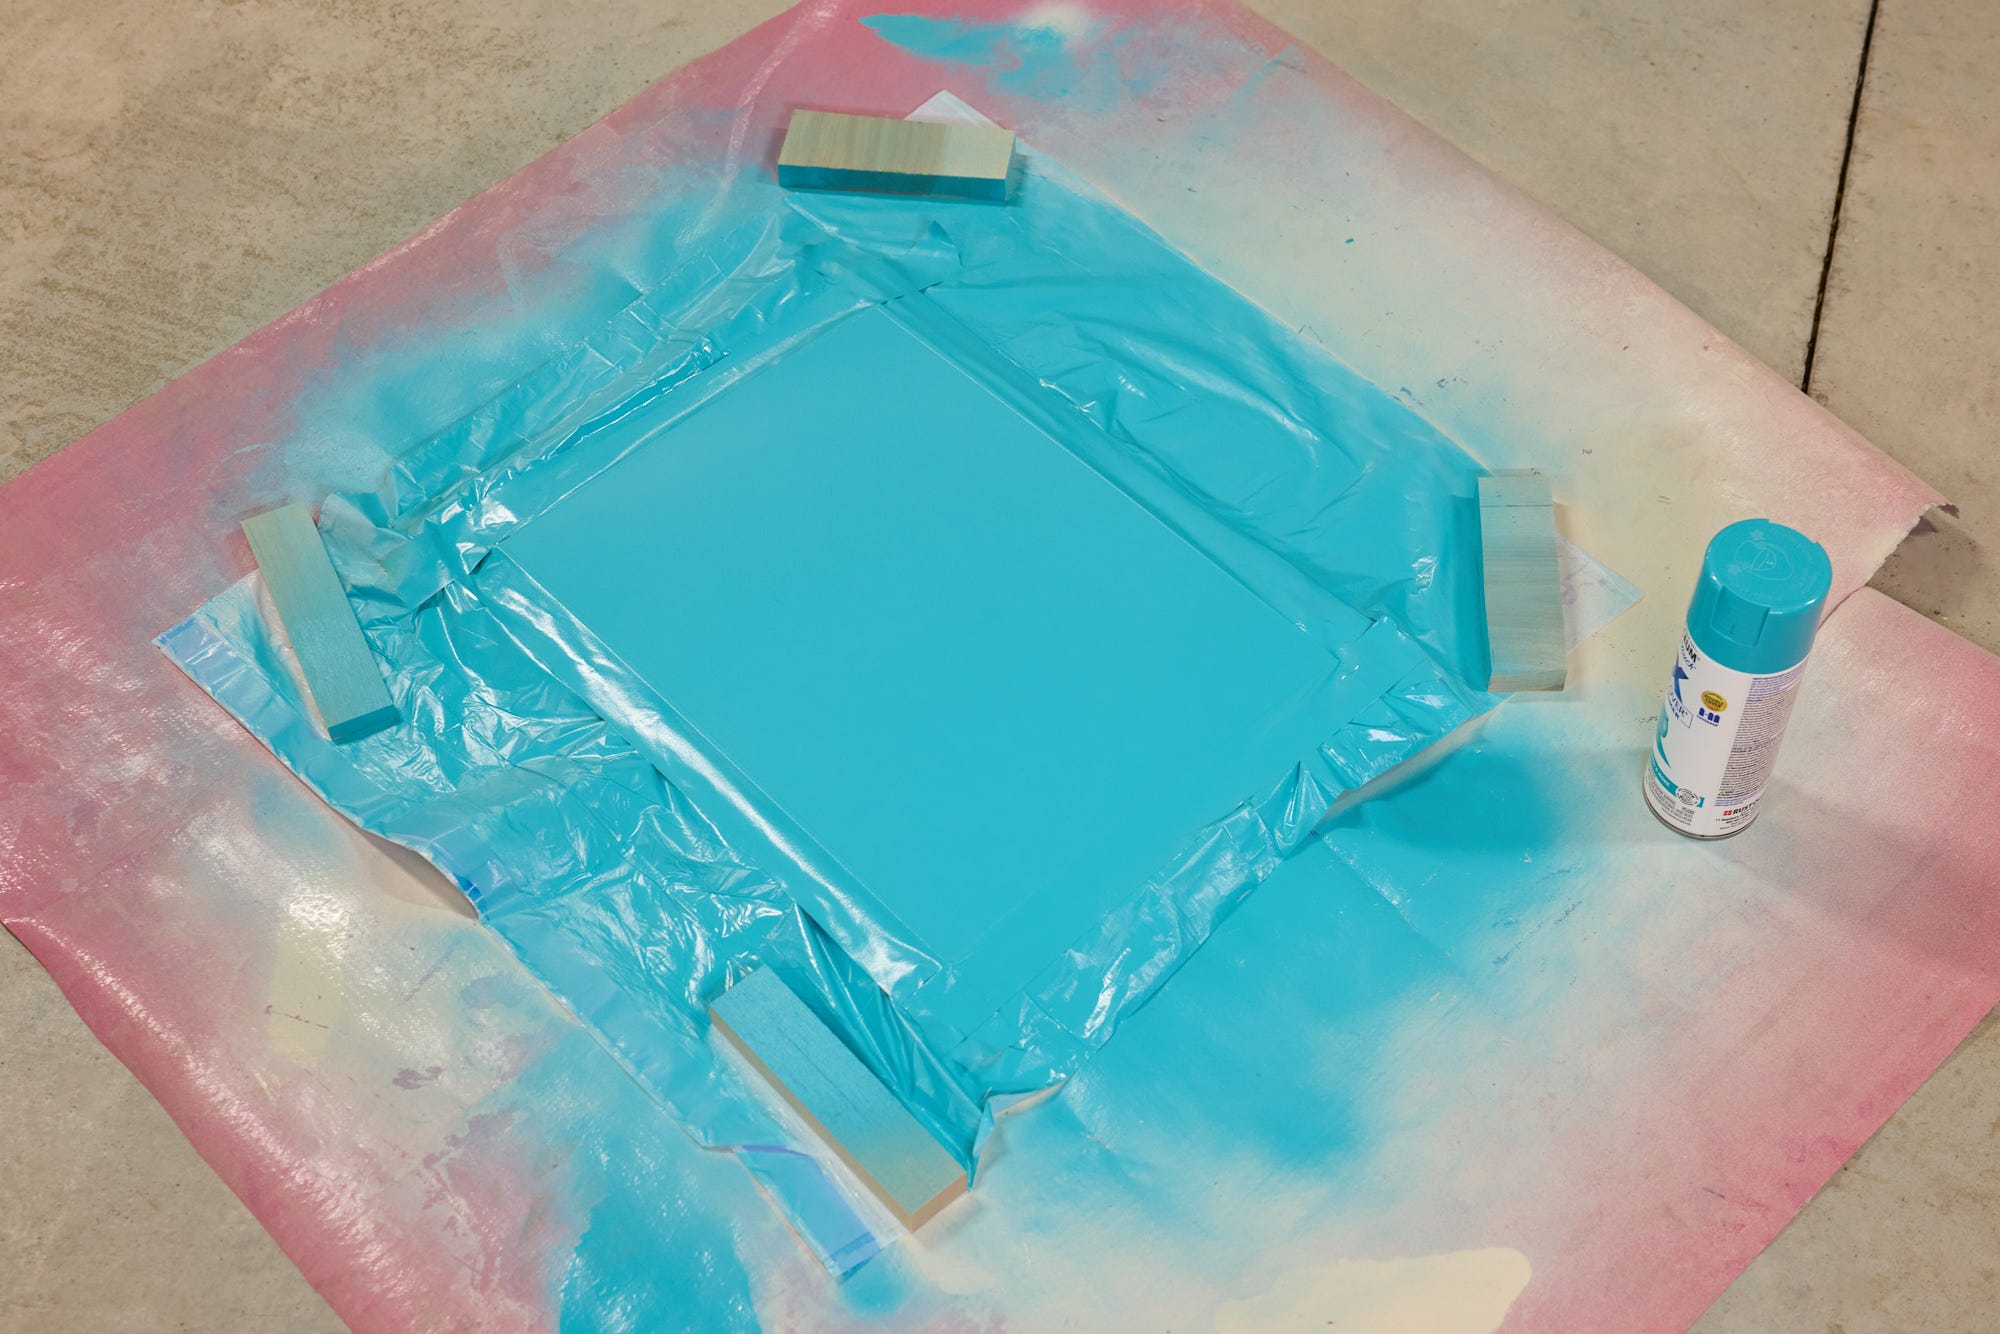
I started with a 3 mm sheet of acrylic. I spray-painted the back side blue:
I then selectively removed some paint with and cut a number of openings on a CNC mills:
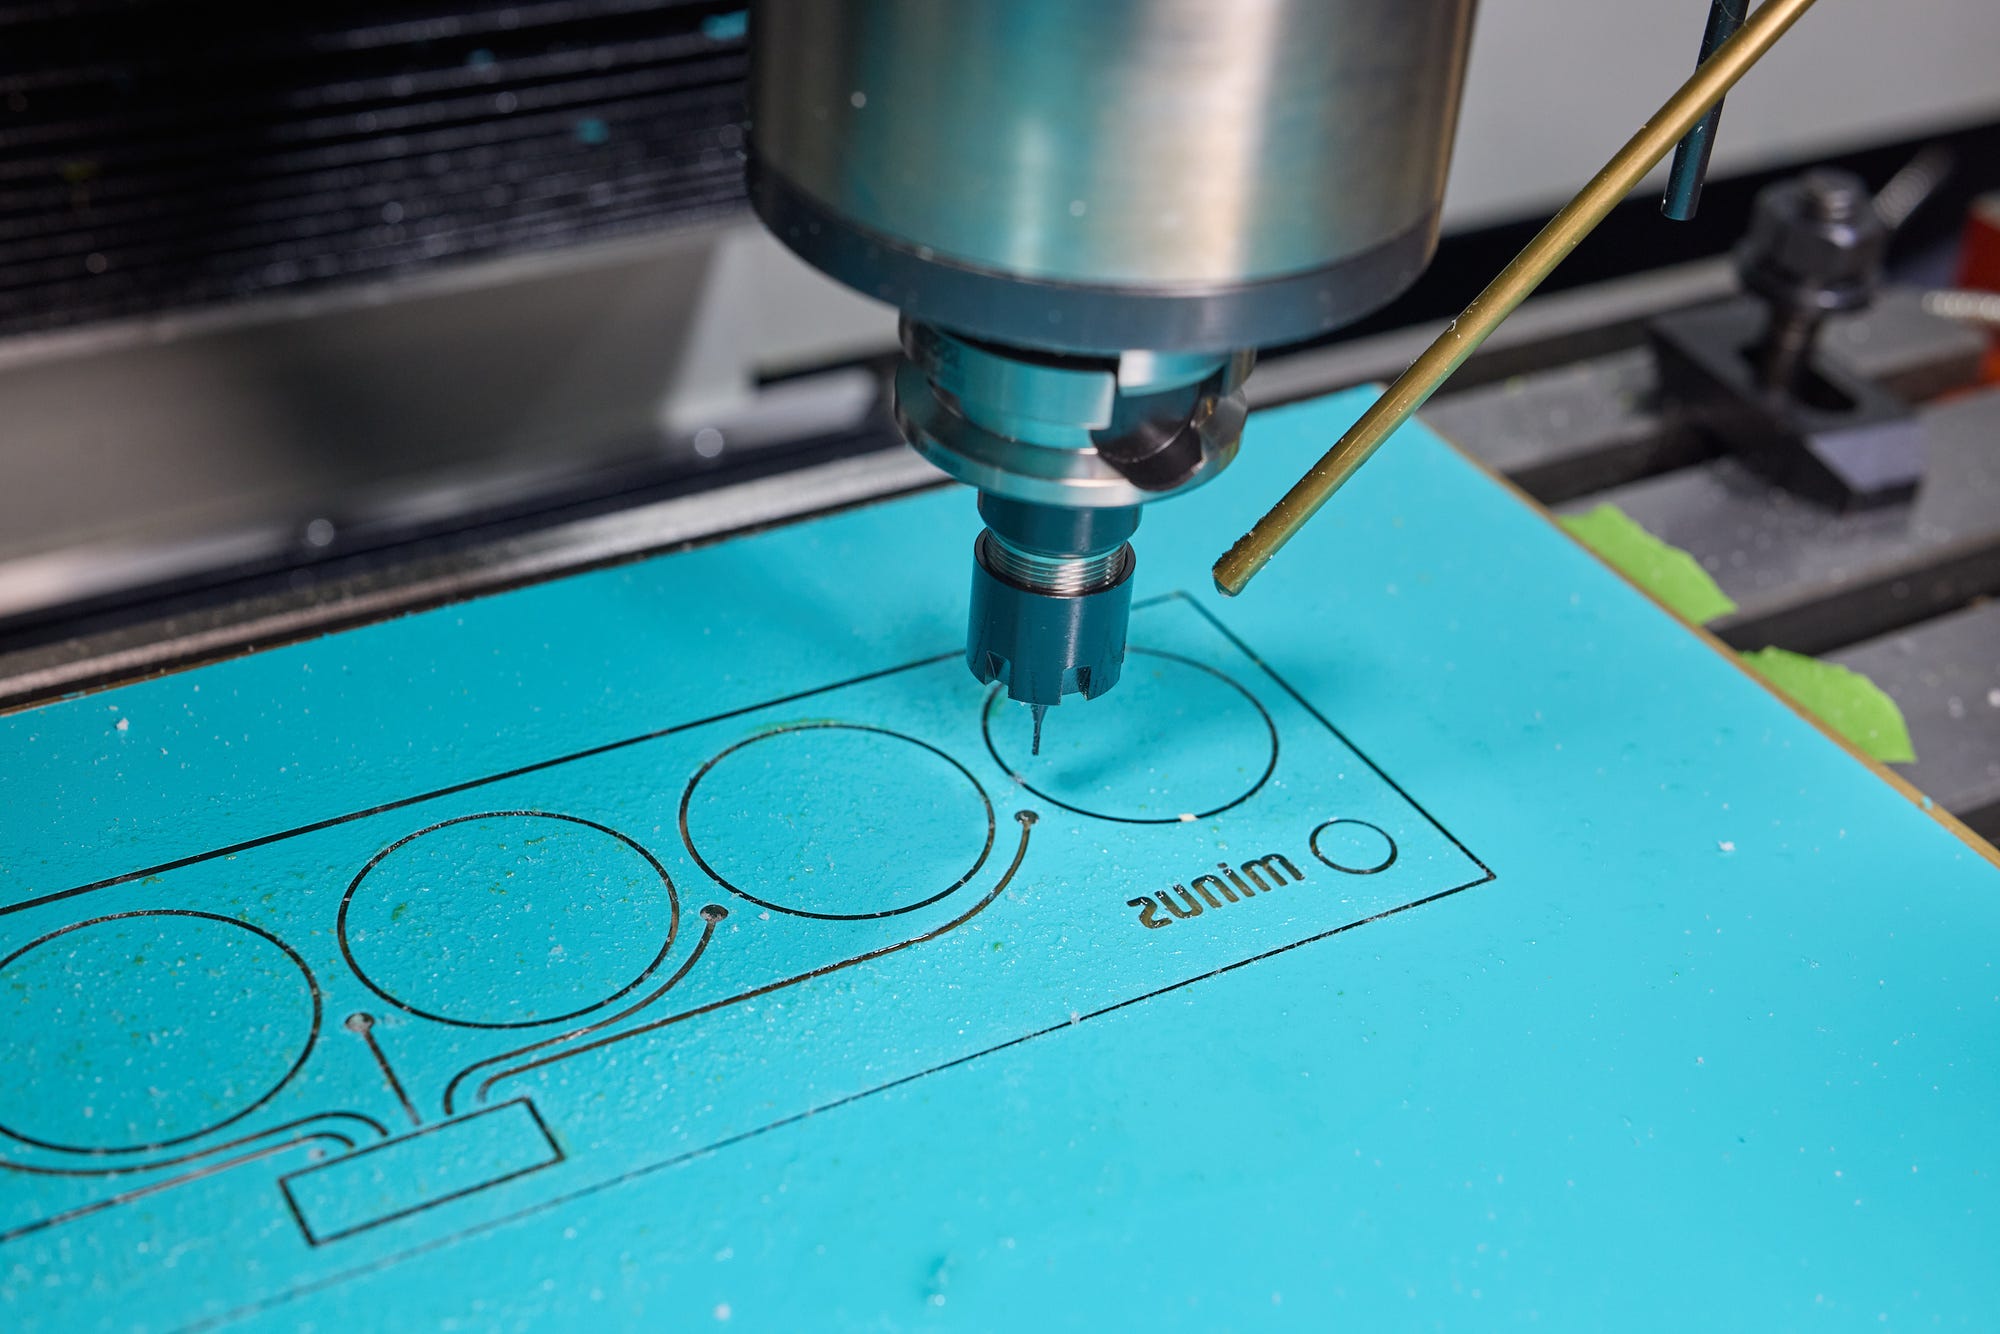
The areas with lettering were then painted again to give these areas contrast and a cool three-dimensional look.
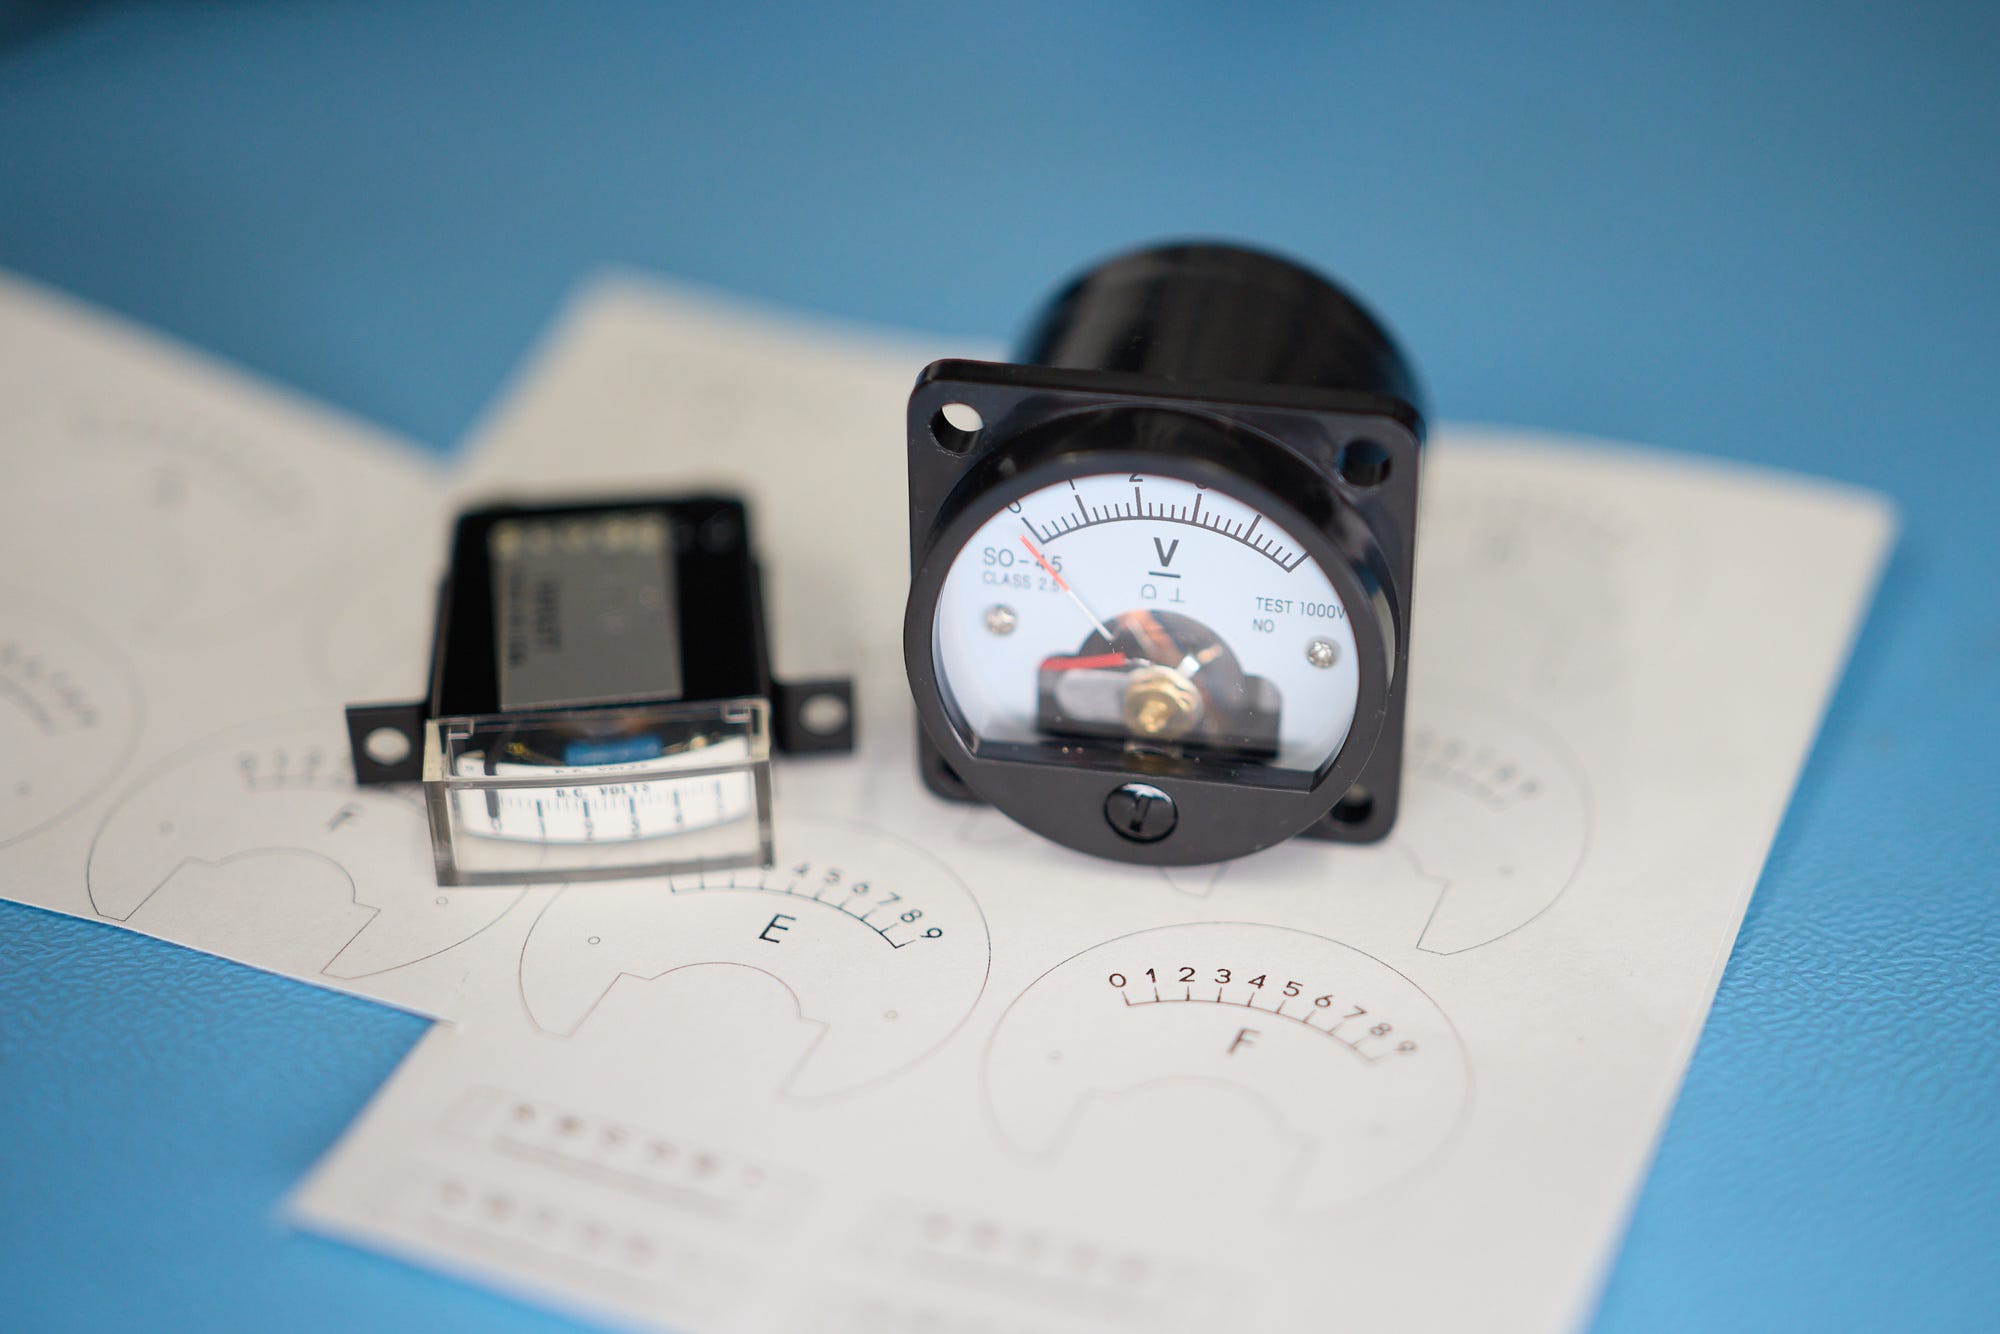
I constructed the display itself out of six generic “SO-45” panel voltmeters from Amazon, plus one vintage edgewise voltmeter scored on eBay. The meters are fitted with custom faces printed on adhesive paper (template file):
Here’s the assembled panel, also embellished with two Dialight 656 series panel indicators (catalog page) that signal negative results and overflows:
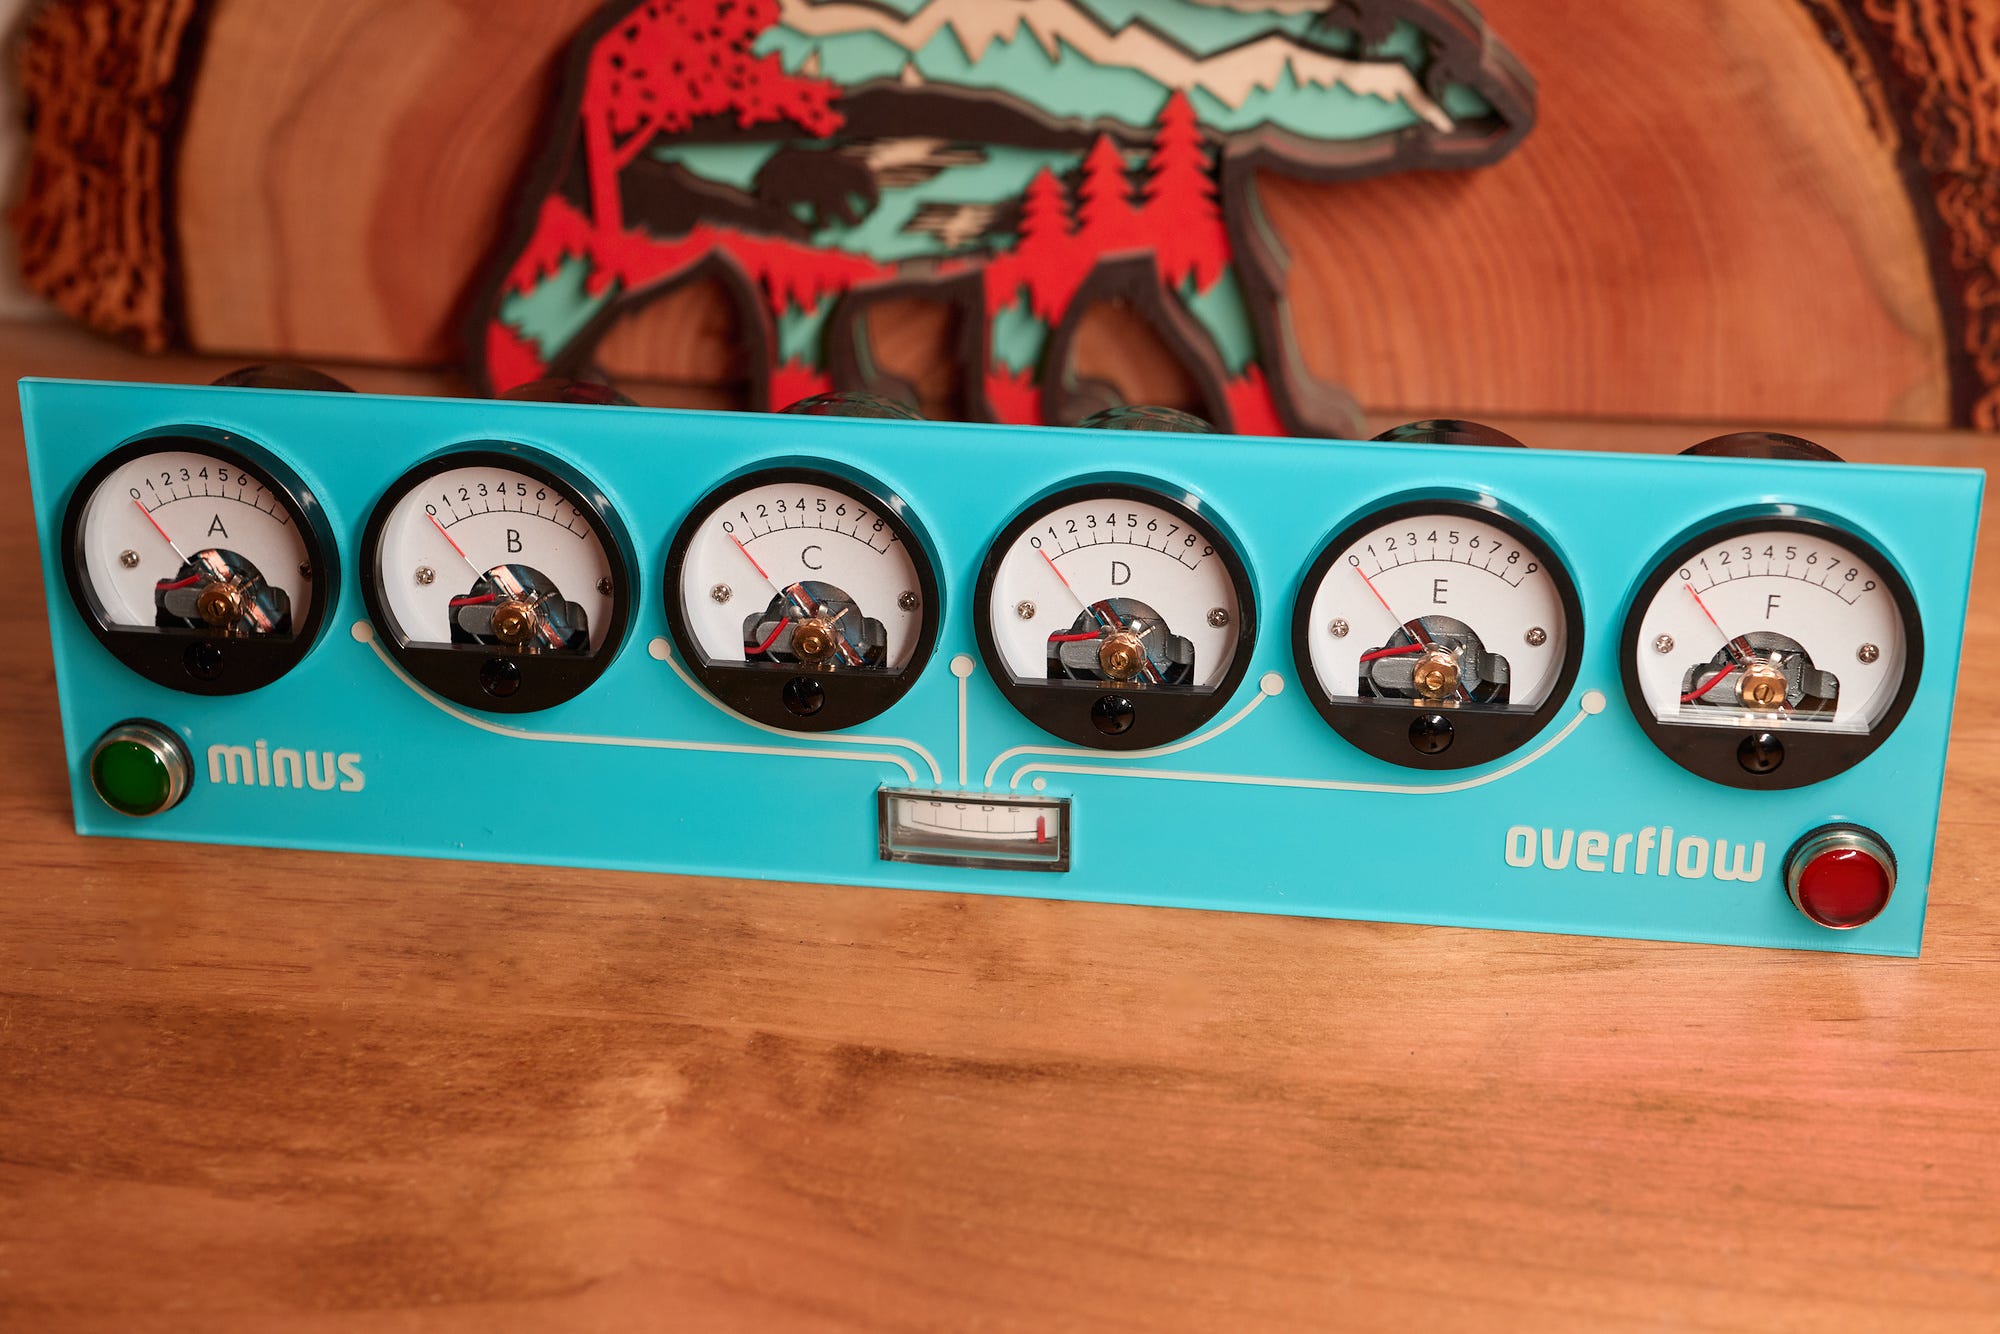
And yep, the edgewise meter in the middle is obviously used for floating point.
The panel was the easy part; next, I had to come up with an enclosure. Because the panel is fairly massive, I decided to use a non-standard keyboard layout: ten digits and a decimal point in a two rows on the left, and then five operator keys in a cluster to the right.
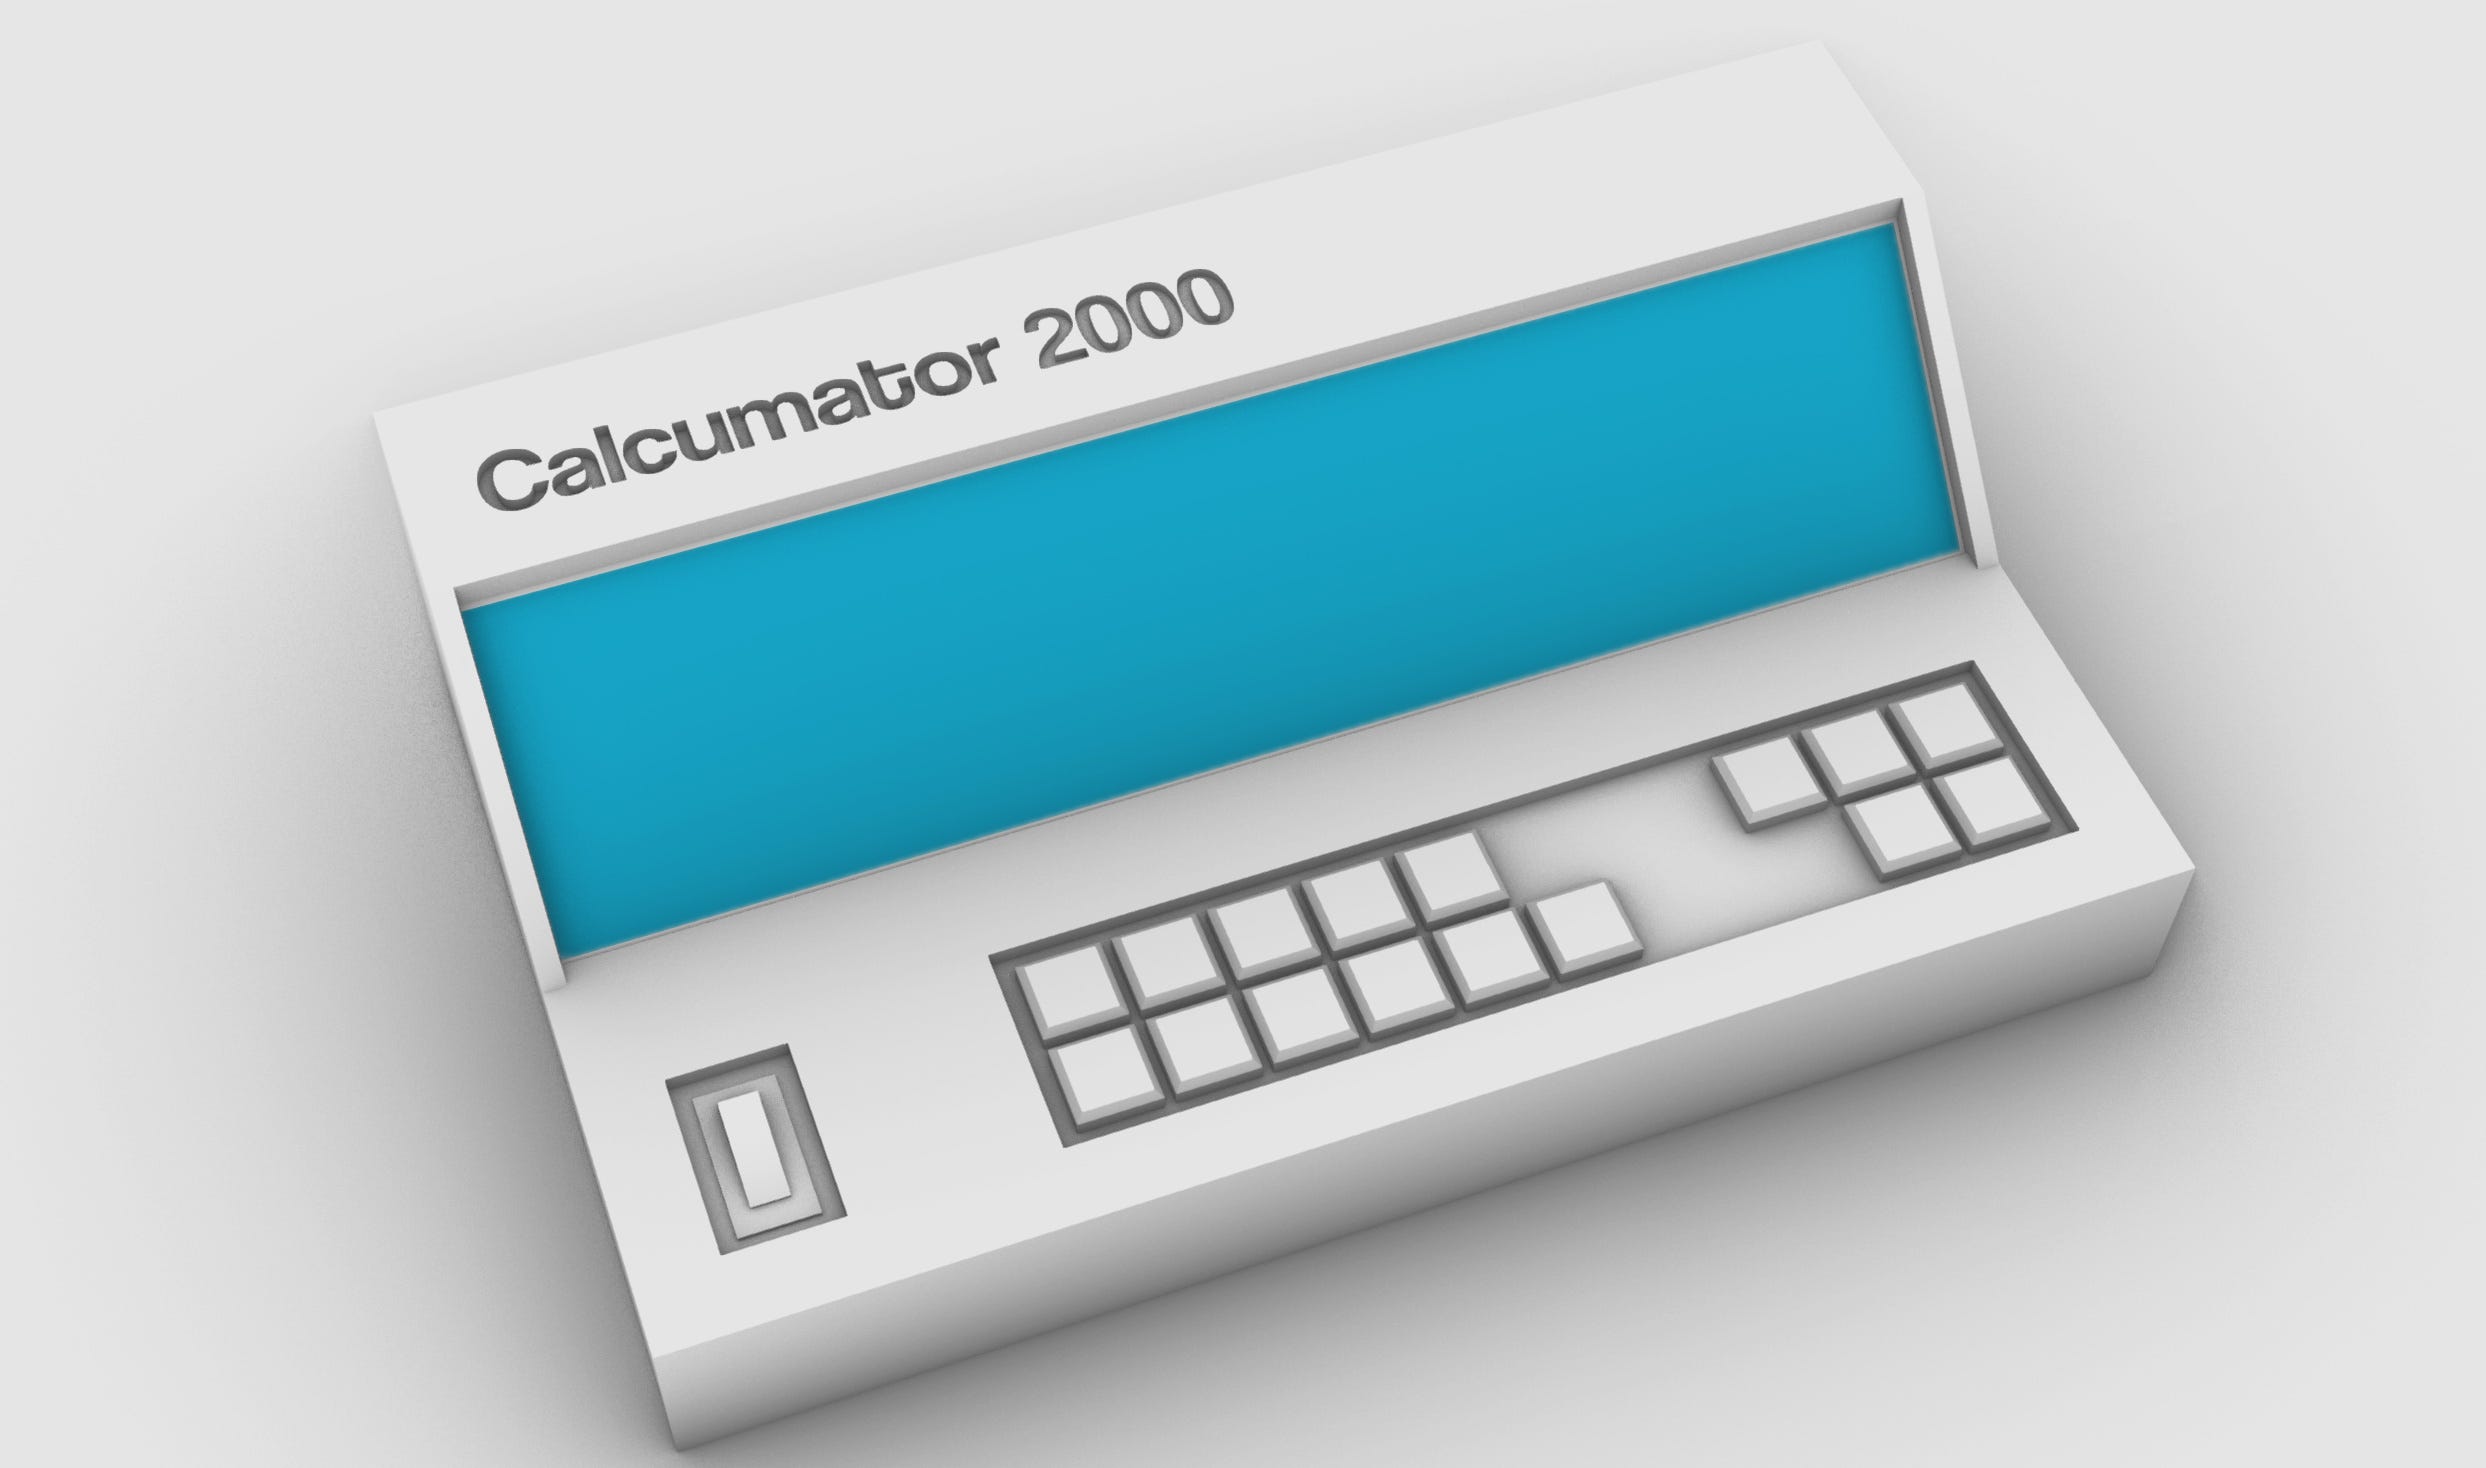
Electrically, the keypad is still a 4×4 grid with four driven rows and four column sense lines.
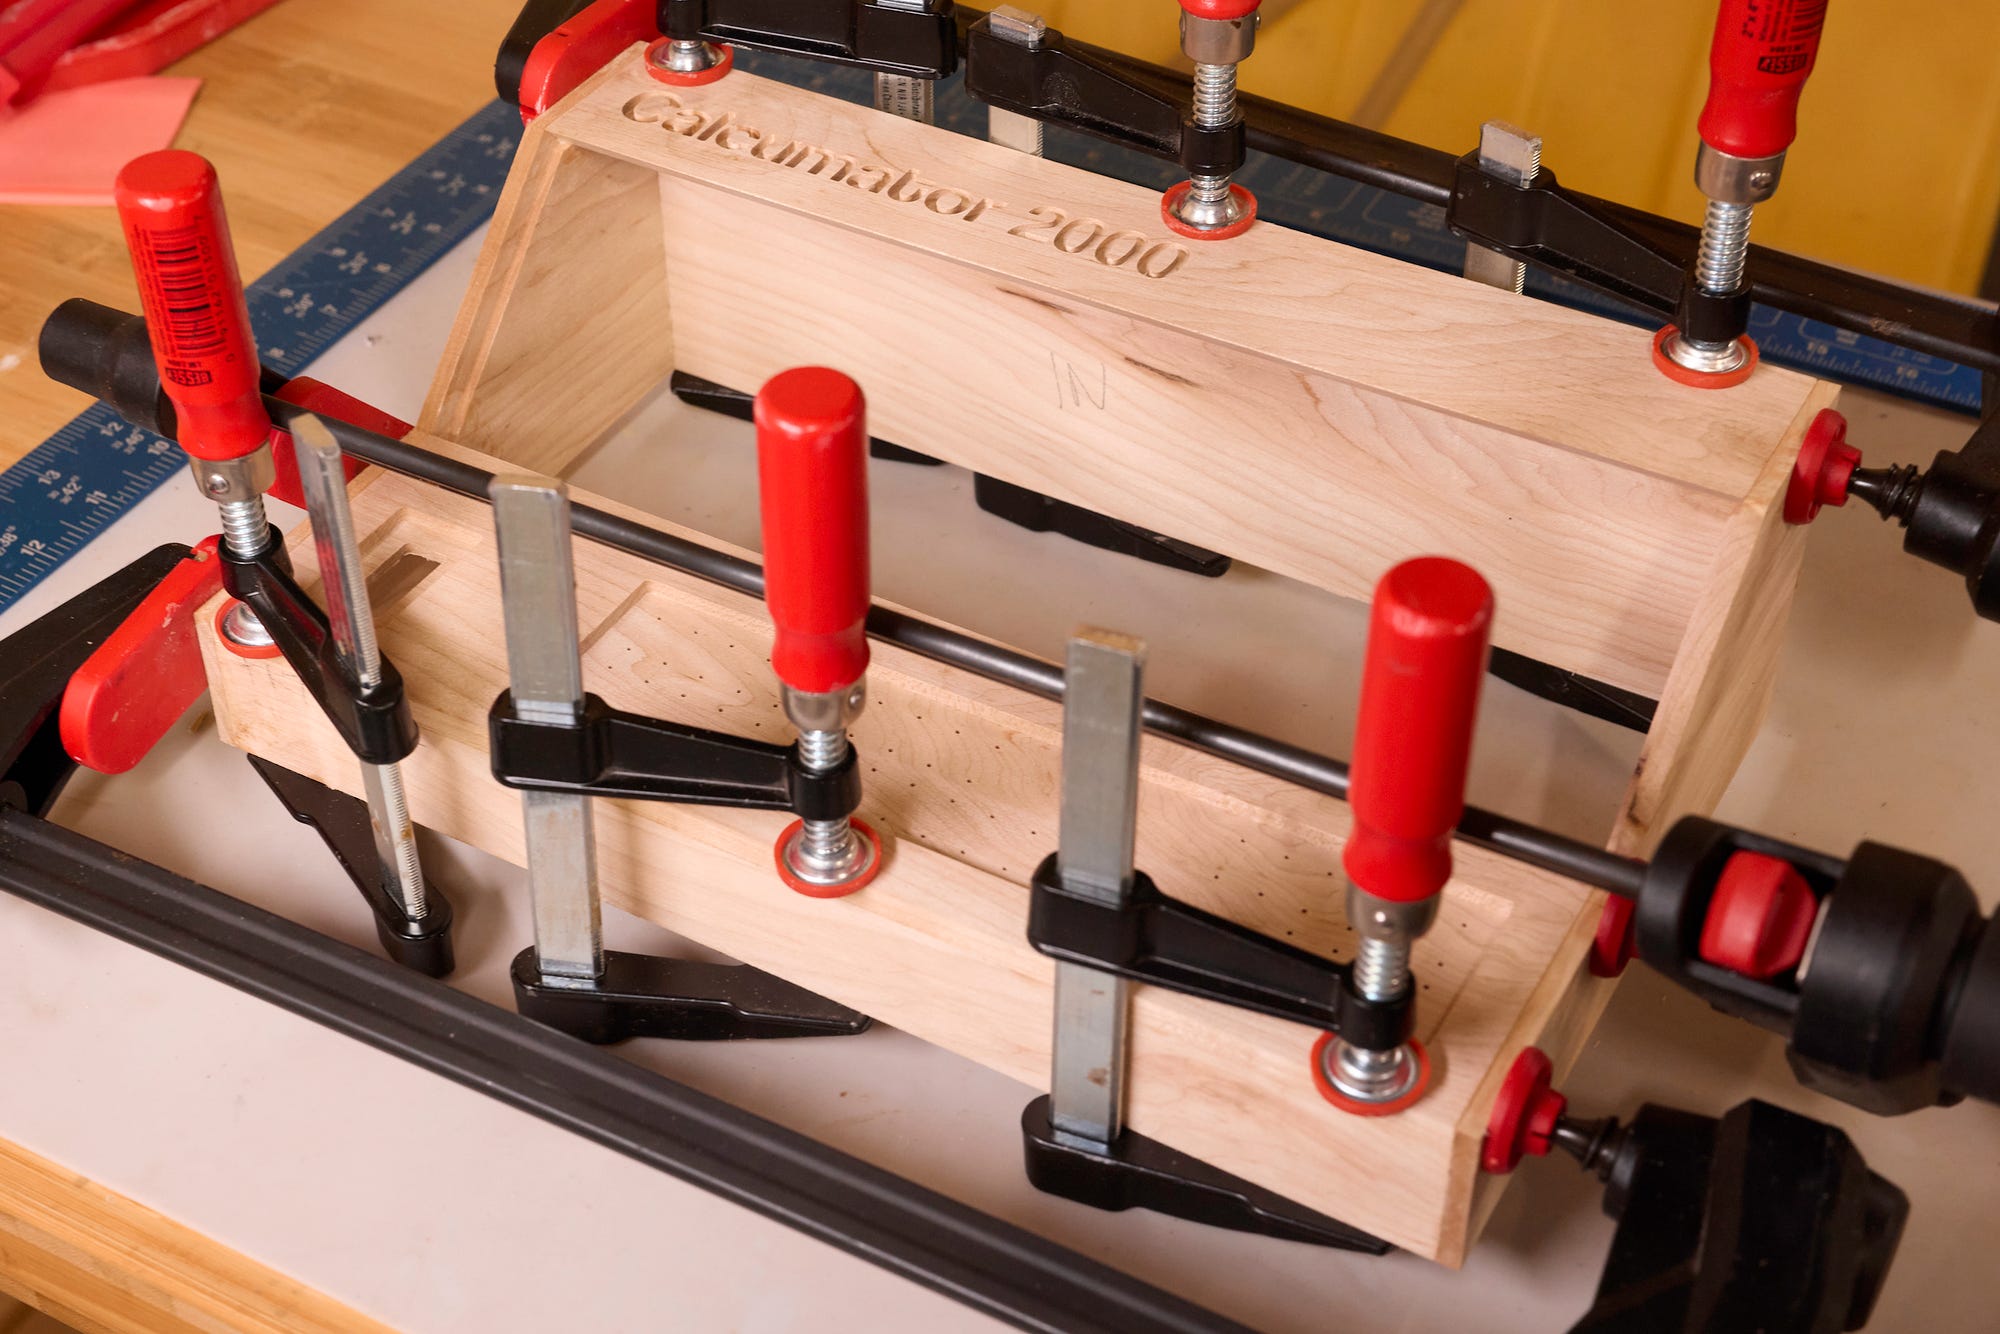
I made the enclosure from thin maple lumber stock resawn in my workshop. The lettering and the recessed key matrix were once again machined on a CNC mill:
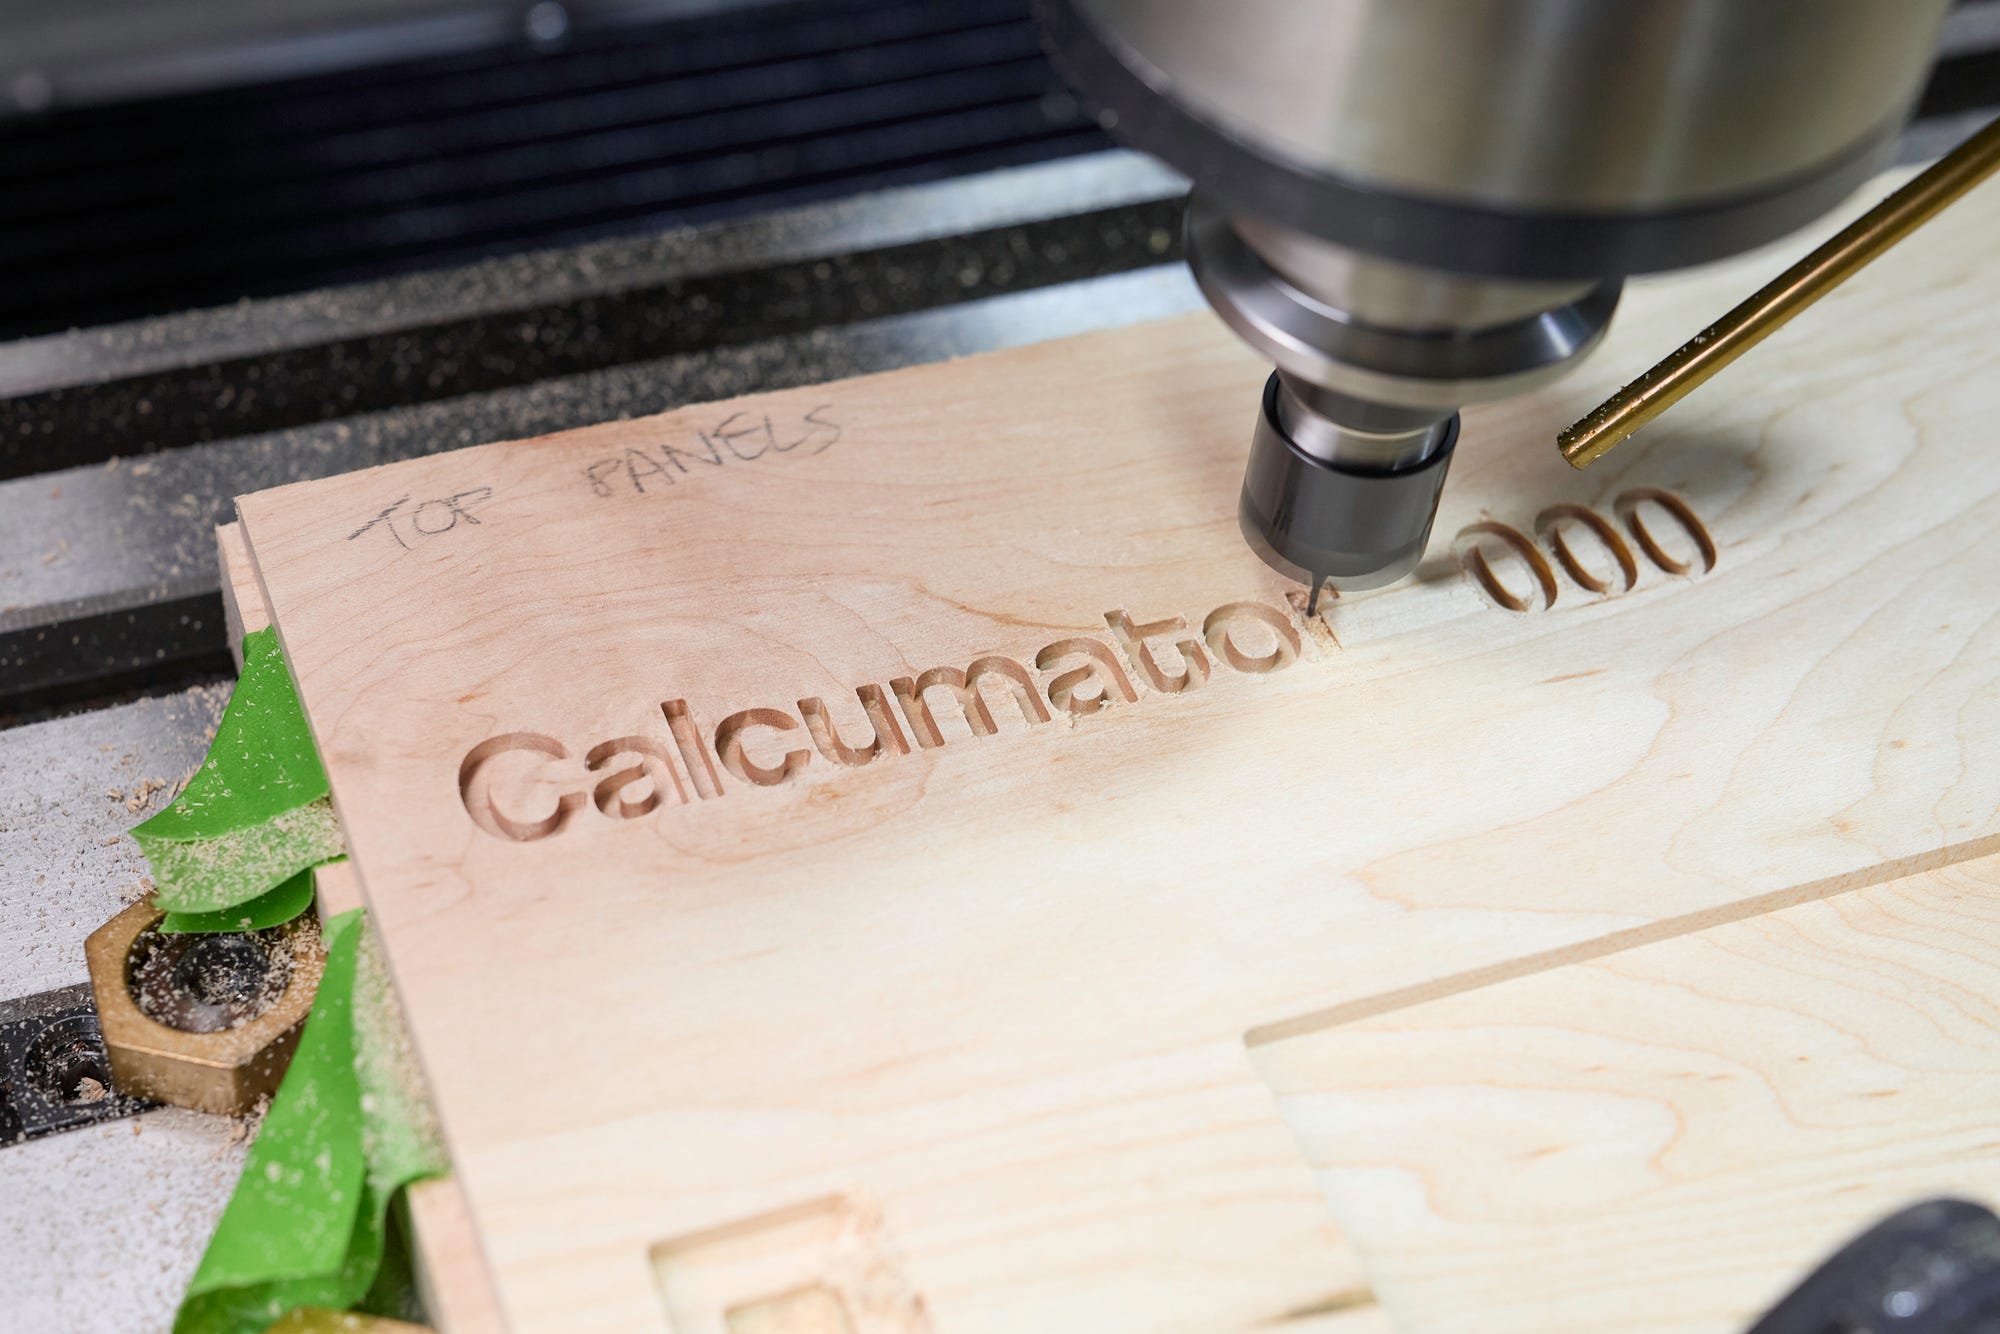
Here’s a photo of the glue-up:
The keypad uses sixteen relatively fancy 18×18 mm NKK JF series tactile switches (catalog here). I made custom vinyl decals for each key.
Here’s the photo of the finished enclosure:
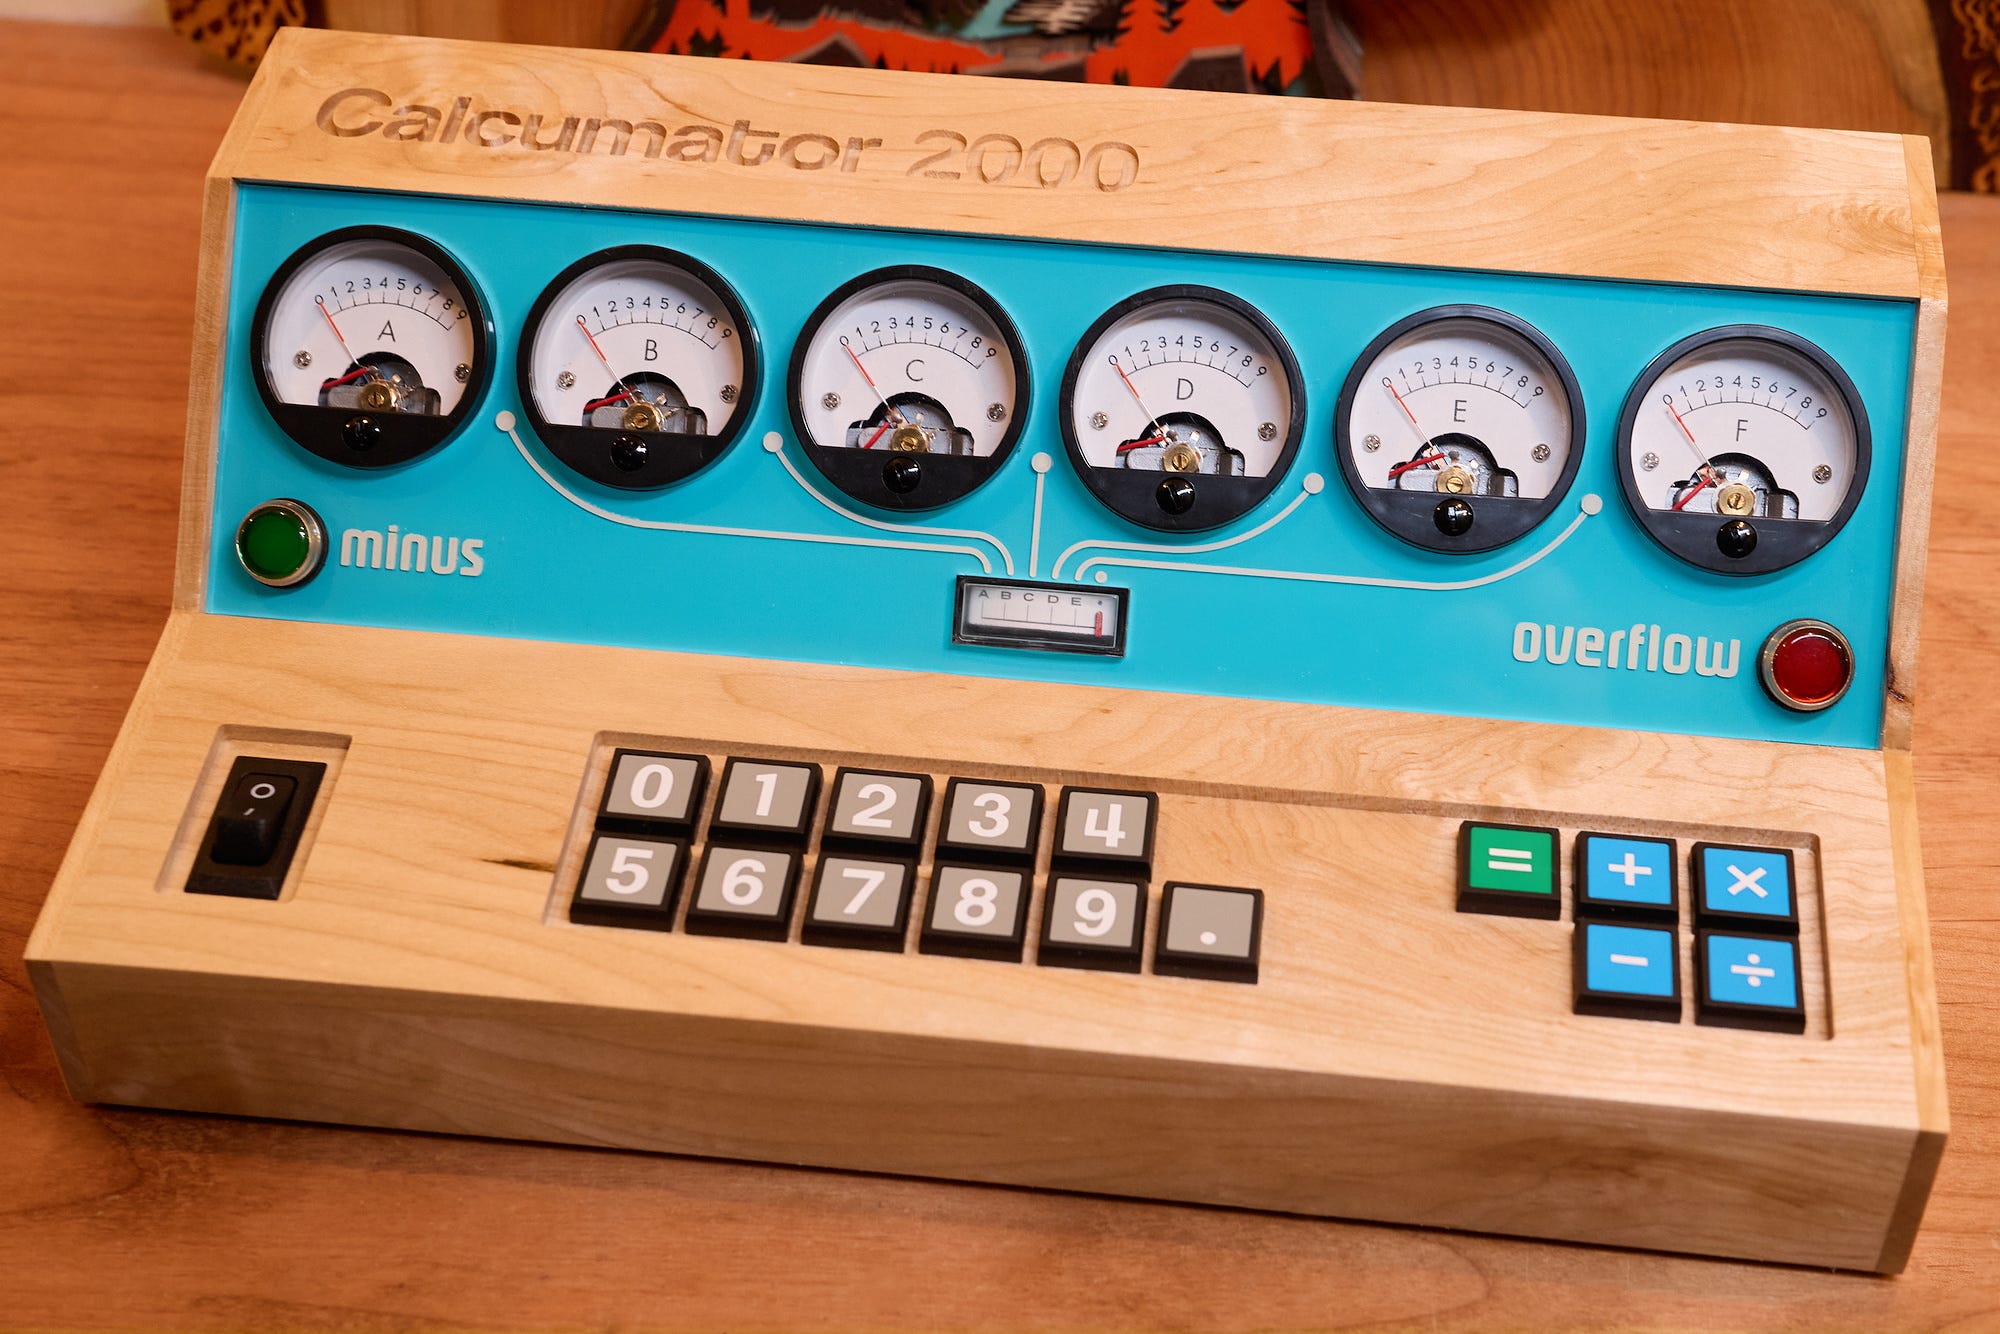
The final portion of the project is the control circuitry. Some folks egged me on to implement analog calculations, but that would make the calculator even less practical — and if you want to take that route, purely-mechanical designs are more fun. So, the brains of the operation is an 8-bit AVR128DA28 MCU.
The chip is powered directly from a 5 V wall wart. It uses pulse-width modulation on seven digital lines (PD0-PD6) to drive the meters, a 4×4 sense-drive grid (PA0-PA3 / PA4-PA7) to scan the keypad, and two lines (PC0, PC1) for the indicator lamps.
I’ll spare you the walkthrough of the software architecture because it’s fairly straightforward. About the most interesting part is the implementation of fixed-point (6+5 digit) arithmetic to avoid the accuracy issues related to floats. You can download the source here; it’s short and commented well.
As discussed earlier on this blog, calculator UI is hell and the code makes several choices related to that. It allows repeated operations by pressing “+”, “×”, or “÷” twice, but reserves “-” as a prefix for changing sign, except if pressed right after the equals key. It also interprets dual “=” as an instruction to clear calculator state because the keypad doesn’t have a dedicated “C” button.
And now, the moment you’ve all been waiting for. It shows the handling of fractions, negative numbers, and error conditions:
That’s all.
📖
If you liked the article, you’ll enjoy The Secret Life of Circuits. It’s a richly illustrated, lucid introduction to electronics — from the physics of conduction to embedded system programming. It features 290+ color diagrams, 420+ pages of original content, and zero AI.
I write about electronics, the foundations of mathematics, the history of technology, and other geek interests. If you like it, please subscribe.
Ohhhh how sweet is that little thing ❤️ give it bigger buttons, route the edges and it can pass as a toddler sensory board
Shine on, you crazy diamond!