Weekend projects: Sketchy Sketch
Making a nicer version of a forgotten, electronic Etch-A-Sketch toy.
Most adults in the US are probably familiar with Etch-A-Sketch: an iconic mechanical drawing device with two knobs to control a stylus that selectively scrapes aluminum powder off a sheet of transparent plastic.
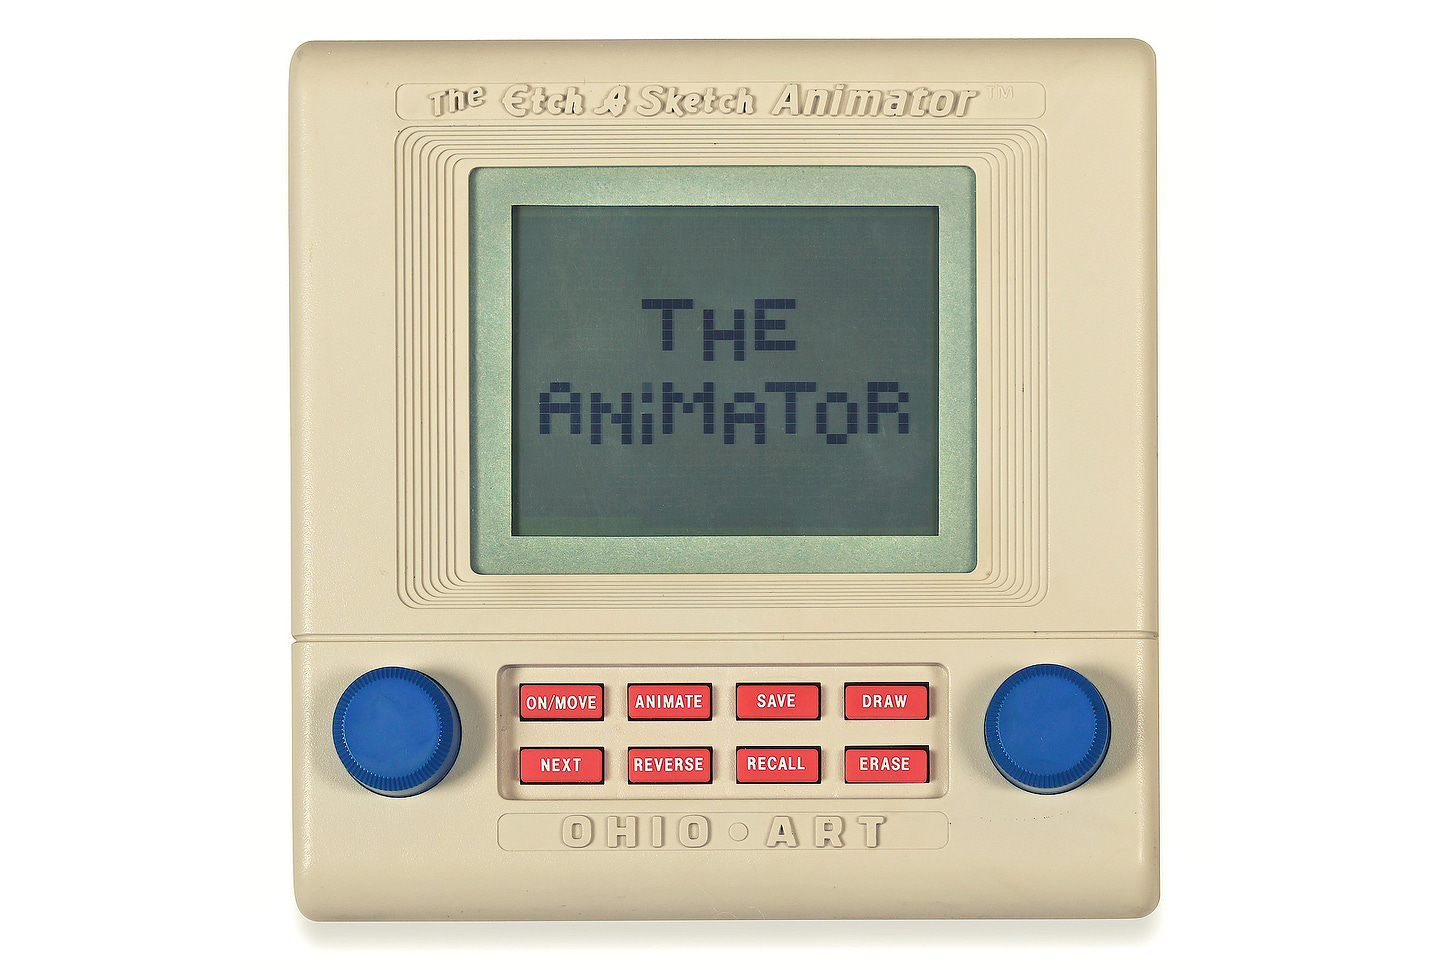
Fewer might remember that in the late 1980s, the company behind Etch-A-Sketch came up with an electronic version of the gadget:
The new product retained the same dual-knob control scheme, but it was a pixel-art engine. Even better, it allowed multiple frames to be stored and then played back in sequence, allowing rudimentary animations to be created and then shown to friends.
The vintage device is not hard to find on eBay, but it’s not actually fun to play with. The knobs are every bit as counterintuitive to use as on the original Etch-A-Sketch — except there’s no tactile feedback at all, and no real justification for retaining this control scheme.
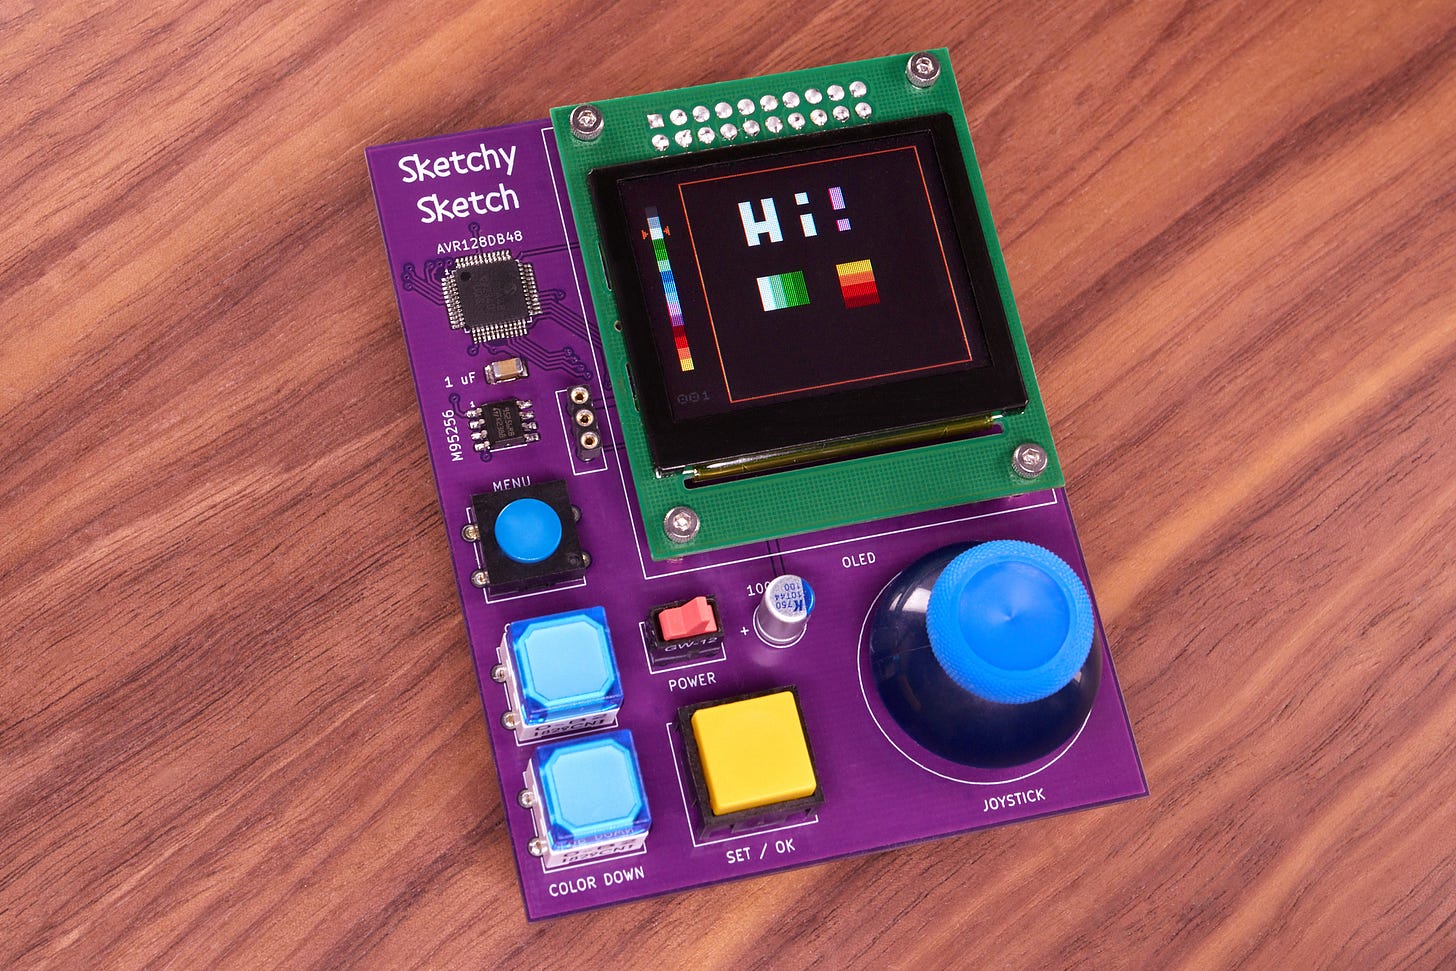
Still, the idea is cool, so about a week ago, I decided to build my kids a more modern version of the same. Say hello to Sketchy Sketch:
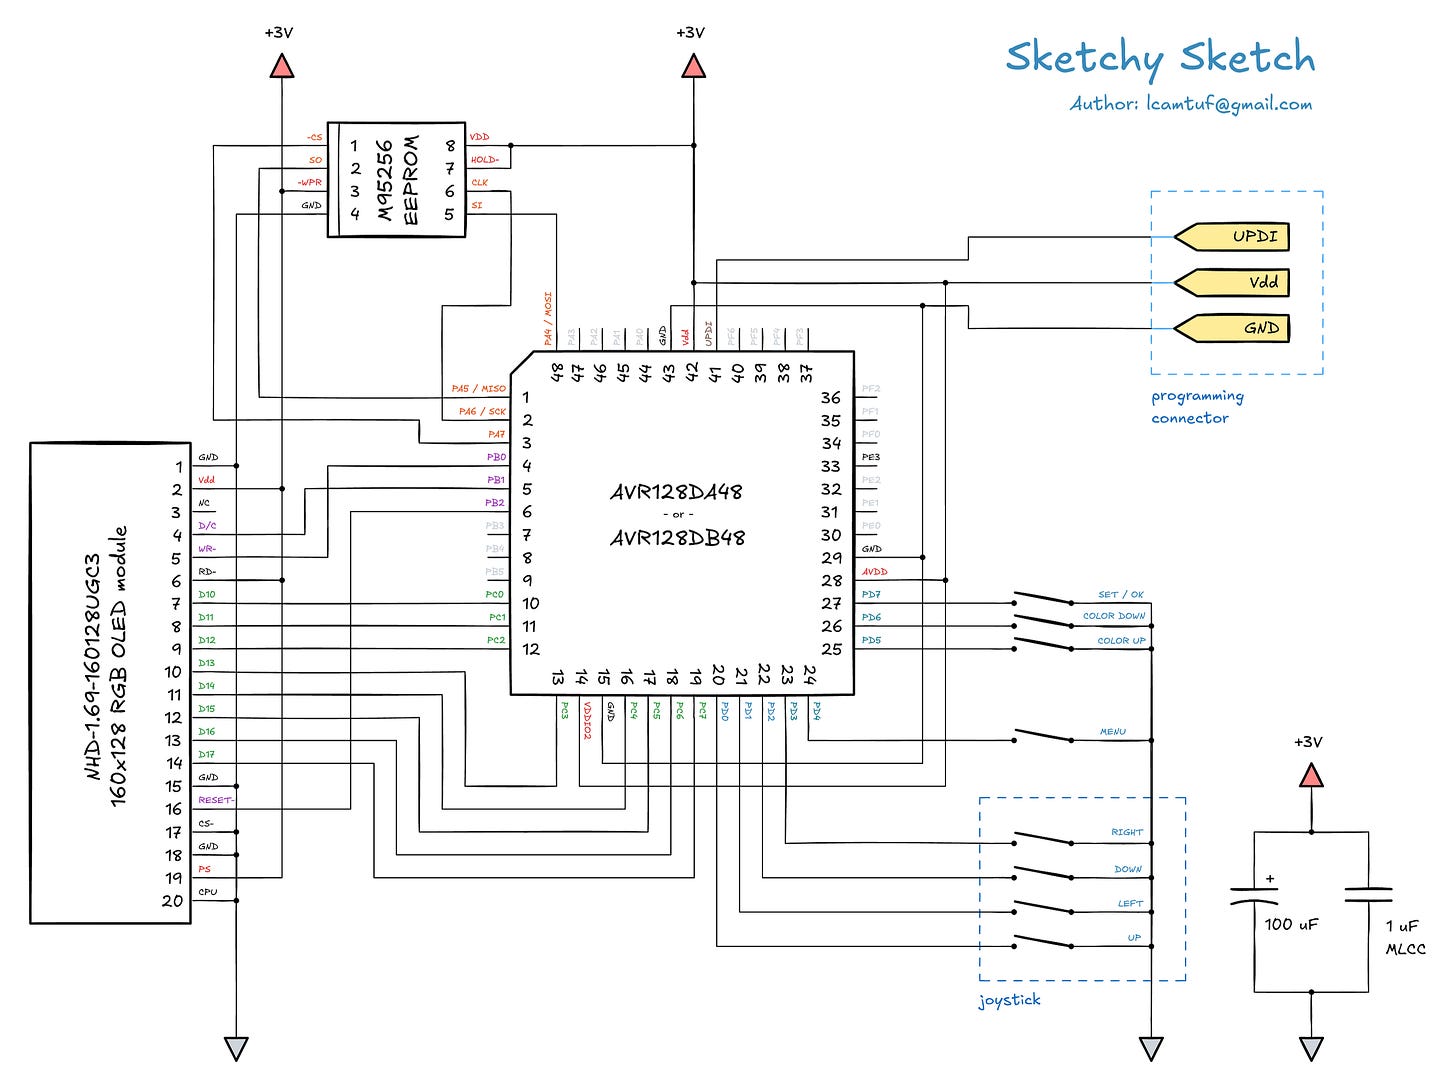
The hardware platform is an incremental tweak of Sir Box-a-Lot: my more substantive, earlier homage to Sokoban. The hardware architecture is outlined here, the software side is discussed in this article, and the PCB design process is showcased here.
In brief, the device uses a fancy, bare-metal AVR Dx microcontroller from Microchip, coupled to a 32 kB SPI EEPROM chip from ST Microelectronics (M95256) and a 160x180 18bpp OLED display from Newhaven. The “joystick” is actually a basic five-way navigation switch (Adafruit 504). The only other components are some tactile switches, a pair of decoupling capacitors, and a holder for two AAA batteries. The device runs off unregulated 3 V.
The firmware can be downloaded here. It’s a stripped-down version of the Sir Box-a-Lot engine; I deleted the portions responsible for interrupt-based sound playback and sprite support, leaving just a text mode that uses my custom-designed, ZX Spectrum-inspired 6x6 font:

For this particular project, I extended the font by adding box-drawing characters and a couple of other symbols used for the UI. As before, screen updates are done asynchronously via a 10 kHz TCA0 IRQ routine; the code simply manipulates a 26x21 screen state array in main MCU memory, marking any modified cells as “dirty”; the results are then transparently propagated to the SEPS525 OLED controller via a high-speed parallel bus.
Because OLED displays are relatively low-power, the code takes care to conserve power too; the MCU runs at maximum clock speed (24 MHz) when making screen updates, but then switches to a 1 MHz clock until the next keypress. The display is turned off after several minutes of inactivity, too.
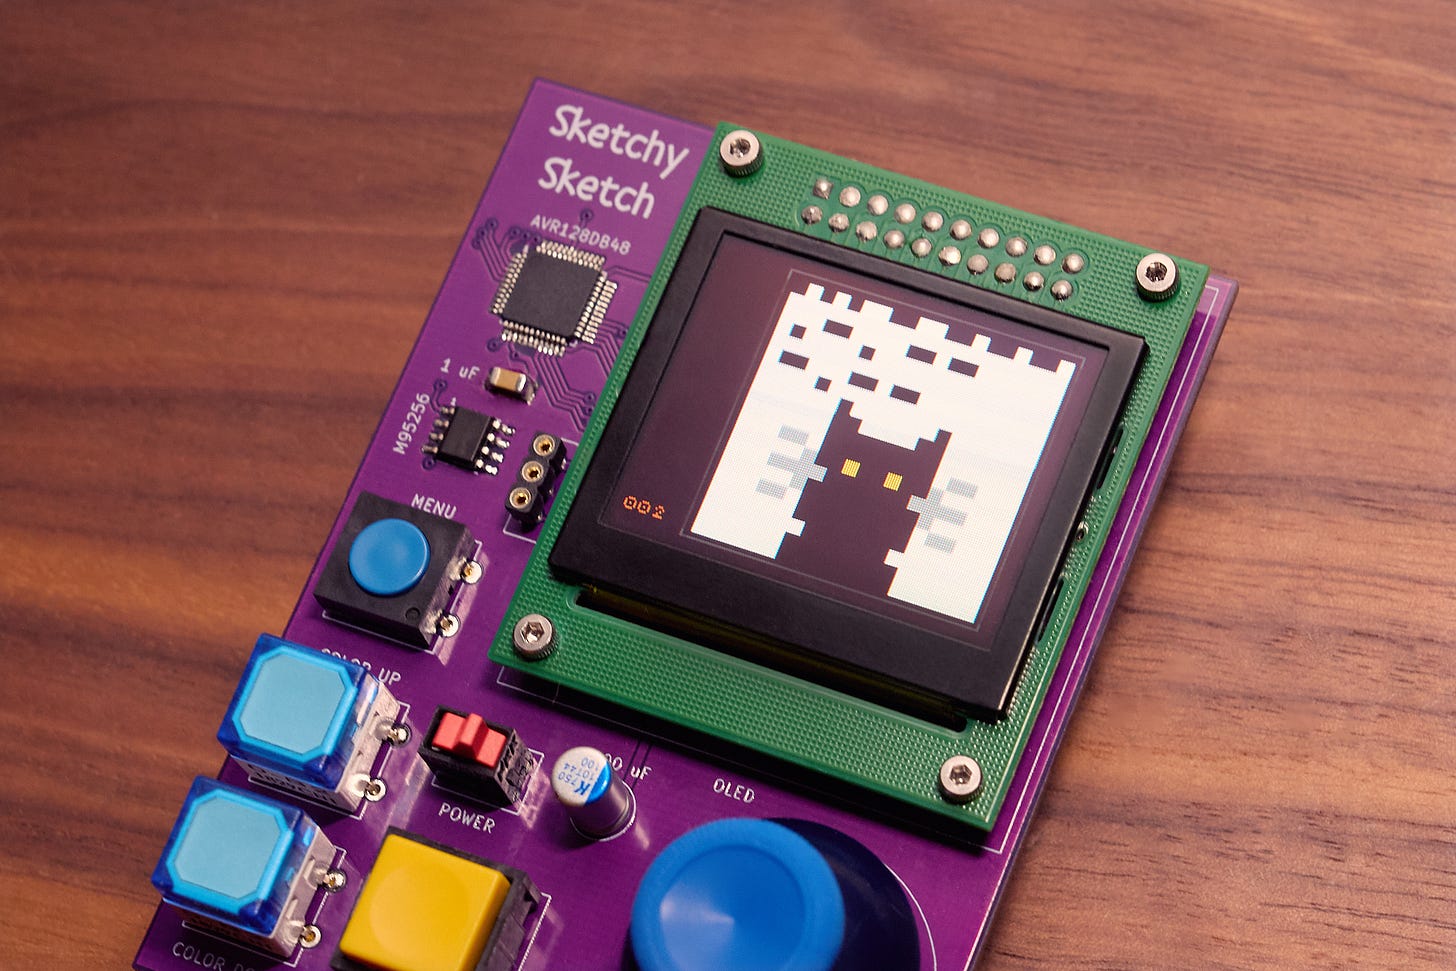
The pixel art drawing area on the right is 20x19 and uses an indexed palette of 16 colors selected, including a range of hand-picked natural hues. For storage, two 4-bit pixels can be packed into each byte, resulting in a memory footprint of 190 bytes per canvas. I store each canvas across three 64-byte EEPROM pages, permitting 170 user images overall.
As usual, designing a user-friendly experience can be trickier than getting the hardware right. The Sketchy Sketch interface has two UI modes. The first screen allows scrolling through, animating, or making copies of saved images. The second mode, entered by pressing “OK” when viewing a specific image, allows editing. On that screen, the two blue buttons switch pen colors; “OK” sets the color of a pixel under the cursor, or samples the existing hue on long press. Finally, the “MENU” button exits to the selection screen, or erases the canvas if held down for a longer while.
Again, the source code, including PCB manufacturing files, is available here. The cool part is that once you have a sensible hardware + firmware platform sorted out, it takes just a couple of hours to repurpose it on a whim.
👉 For more MCU projects, click here.
I write well-researched, original articles about geek culture, electronic circuit design, and more. If you like the content, please subscribe. It’s increasingly difficult to stay in touch with readers via social media; my typical post on X is shown to less than 5% of my followers and gets a ~0.2% clickthrough rate.


This is such a neat project! I'm sure your kids will look back on it fondly. I recently made an mp3 player for my kiddo that he can trigger with RFID cards (like a yotto, but without all the proprietary nonsense).
Have you thought about putting the flash on another board and basically making a cartridge system for this? Homebrew Gameboy!